SignUp|SignIn Limitation Using Google Firebase
A guide on how to limit SignUp|SignIn on a website using Google Firebase
• High-performing, certified full-stack developer and data scientist with 6+ years of software development experience. • Expert in delivering IT solutions for financial services leveraging the latest tools & frameworks.
In this article, I will guide you through the process of customizing the authentication flow using Google Firebase. Together, we will explore the various options and configurations available, enabling you to tailor the flow to suit your specific needs and preferences.
Background
There was a time when a company approached me to develop an authentication flow for them using Google Firebase. However, after successfully implementing it, they requested additional restrictions to meet their specific internal requirements. For example:
- Allow only users from your whitelisted domains like
@your-company.comor@example.combe able to sign-up on the website?
OR
- Prevent users to authenticate from certain IP addresses.
Goal
The main outcome of this guide is to provide a step-by-step guide on how you can limit the user registration or in general, the authentication flow on a website using Google Firebase.

Please find the more advanced authentication flows using Docusaurus and Google Firebase here.
Getting Started
Before we dive into the tutorial, let's assume you've already set up a simple authentication layer in your website using Google Firebase.
Prerequisite
A Google Firebase account
A running website with a simple authentication layer using Google Firebase
🔔 If you don't have a ready-to-use website, you can find a Docusaurus website (built with React) as explained in my previous article.
This guide is the next step after that.
What is a Blocking Function?
Blocking functions let you execute custom code that modifies the result of a user registering or signing in to your app. For example, you can prevent a user from authenticating if they don't meet certain criteria, or update a user's information before returning it to your client app.
Before user creation: This event is triggered before a new user is saved to the Firebase Authentication database and before a token is returned to your client app. You can use this event to perform custom actions or validations before the user is officially created.
Before user sign-in: This event is triggered after a user's credentials are verified, but before Firebase Authentication returns an ID token to your client app. If your app incorporates multi-factor authentication, this function is triggered after the user verifies their second factor. It's important to note that creating a new user will also trigger both of these events.
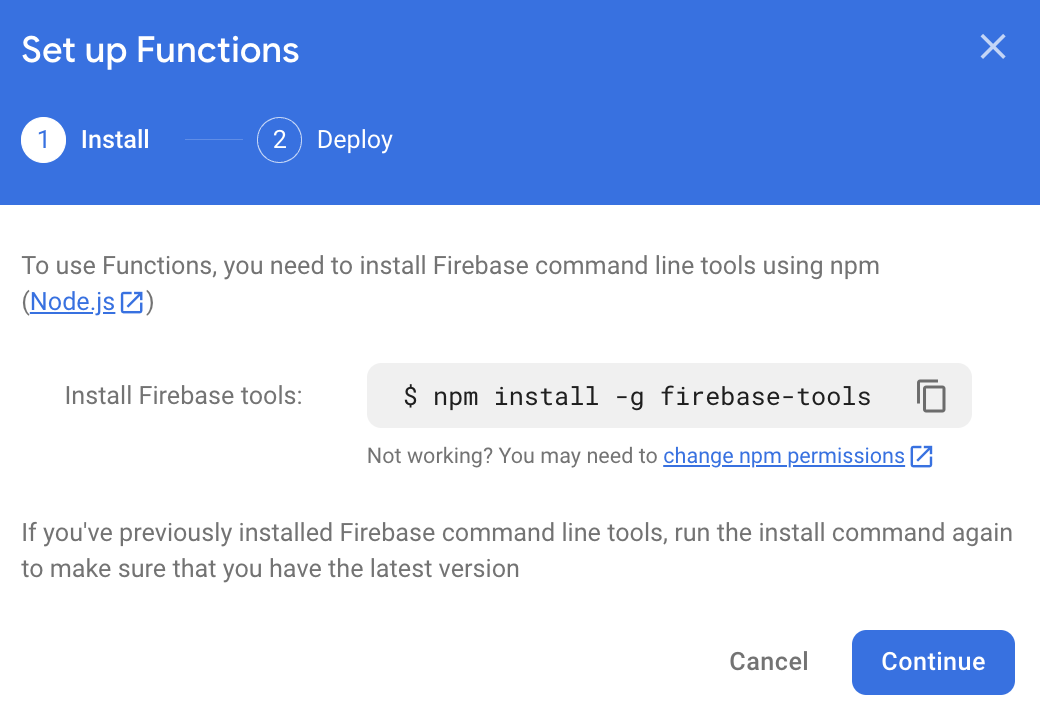
Installing packages
After initializing your project connected to Google Firebase, it is time to install the necessary packages:
npm i -g firebase-tools
The command above will install a package:
firebase-tools: The Firebase Command Line Interface (CLI) Tools can be used to test, manage, and deploy your Firebase project from the command line.
Google Firebase Setup
In this section, we will see how to create a Google Firebase to satisfy the requirements.
Change Firebase Billing
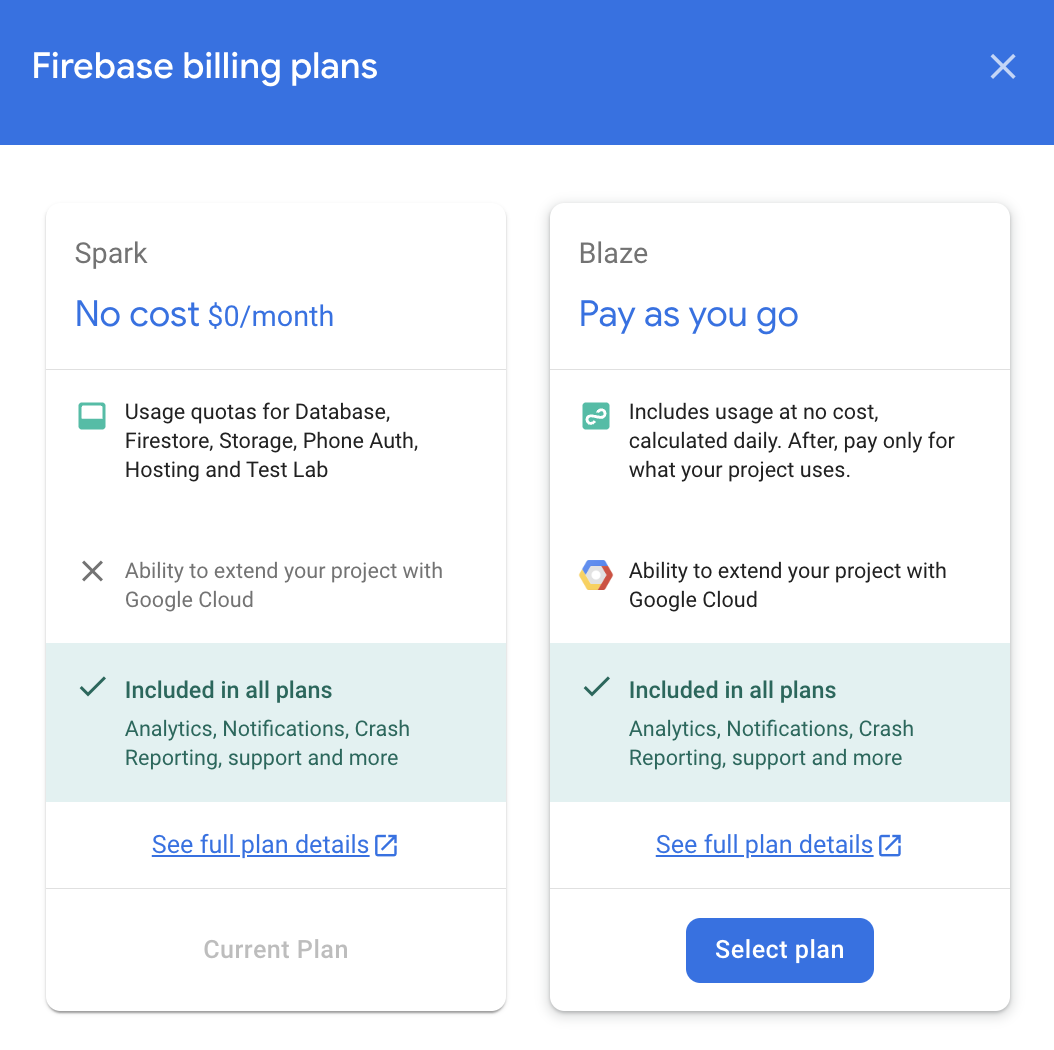
By default, the billing option for your Firebase account is Spark. However, if you want to utilize more advanced features of Firebase, you need to upgrade your plan to Blaze which means you pay as you go.
🔔 Blaze plan includes No-cost usage from Spark plan which is enough for most of your projects.
For a more detailed comparison, please check this link
To upgrade from the Firebase Spark plan to the Blaze plan, follow the below steps:
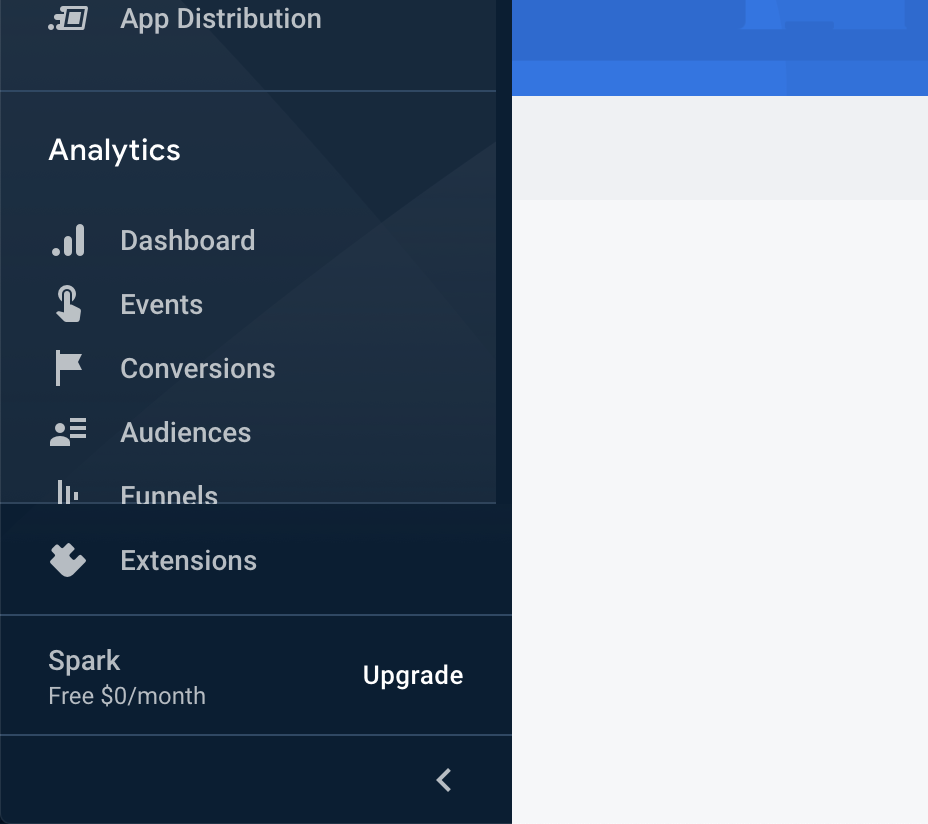
Log in to the Firebase Console. In the lower left, you will see that your project is listed on the Spark plan. Click the Upgrade button.
Select the Blaze plan.
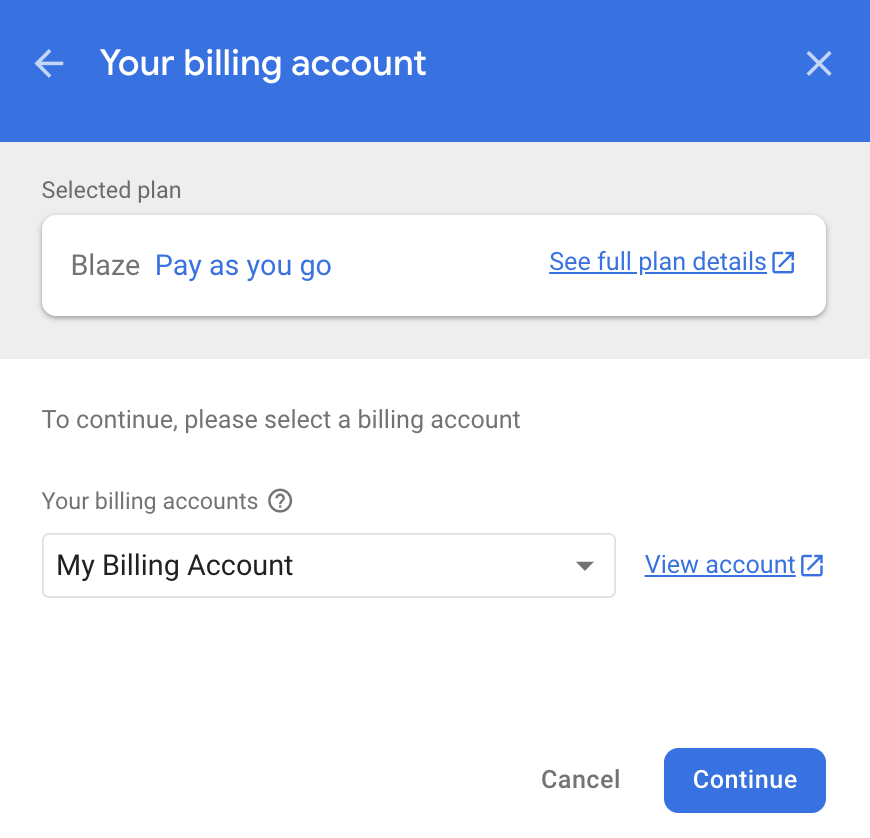
Select a billing account. Then click Continue.
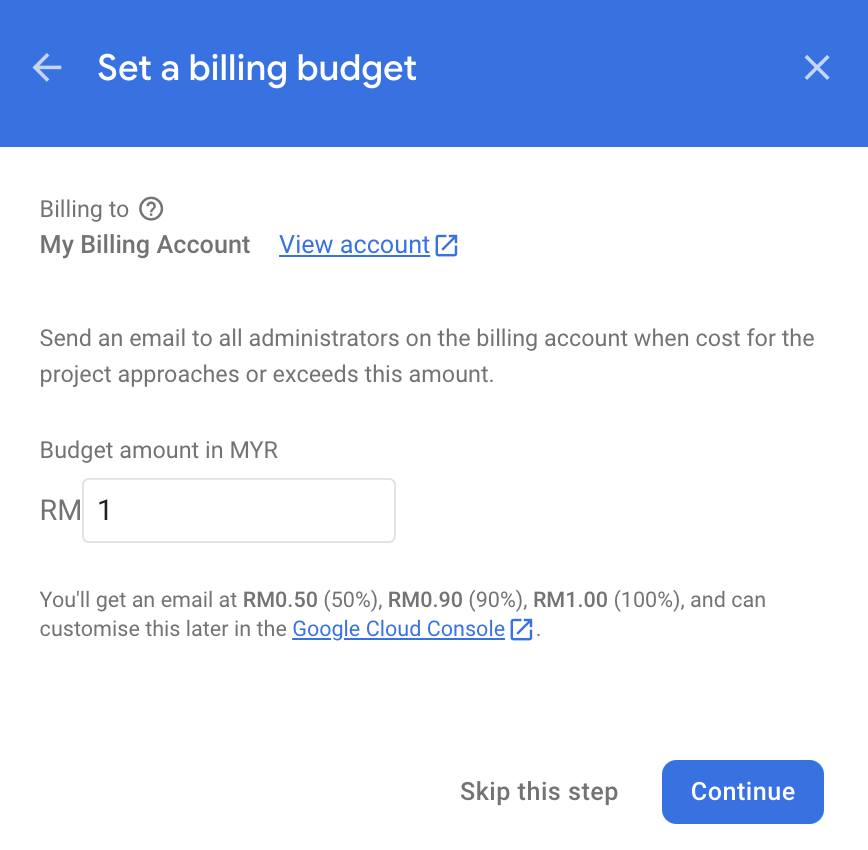
Set a billing budget based on your need and press Continue.
Review your changes and click Purchase.
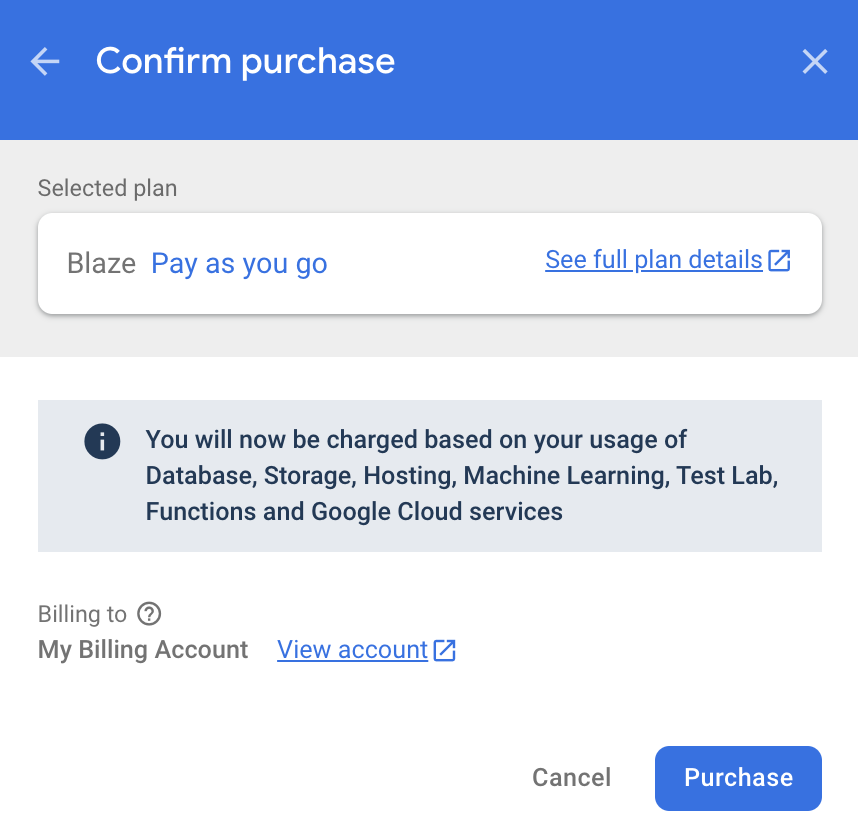
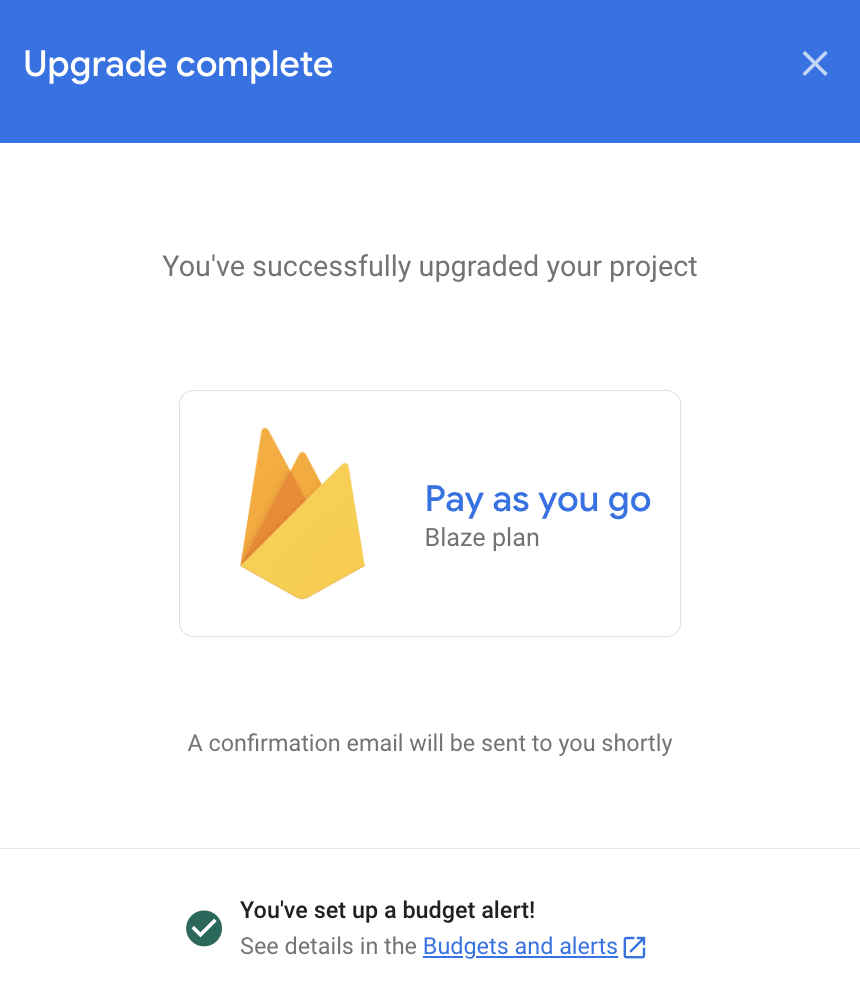
You've successfully upgraded your billing for your account.
Upgrade to Firebase Auth with Identity Platform
Identity Platform serves as the backend for Firebase Authentication with Identity Platform and offers identical features.
To Upgrade your Firebase Authentication to utilize the Identity Platform, follow the below steps:
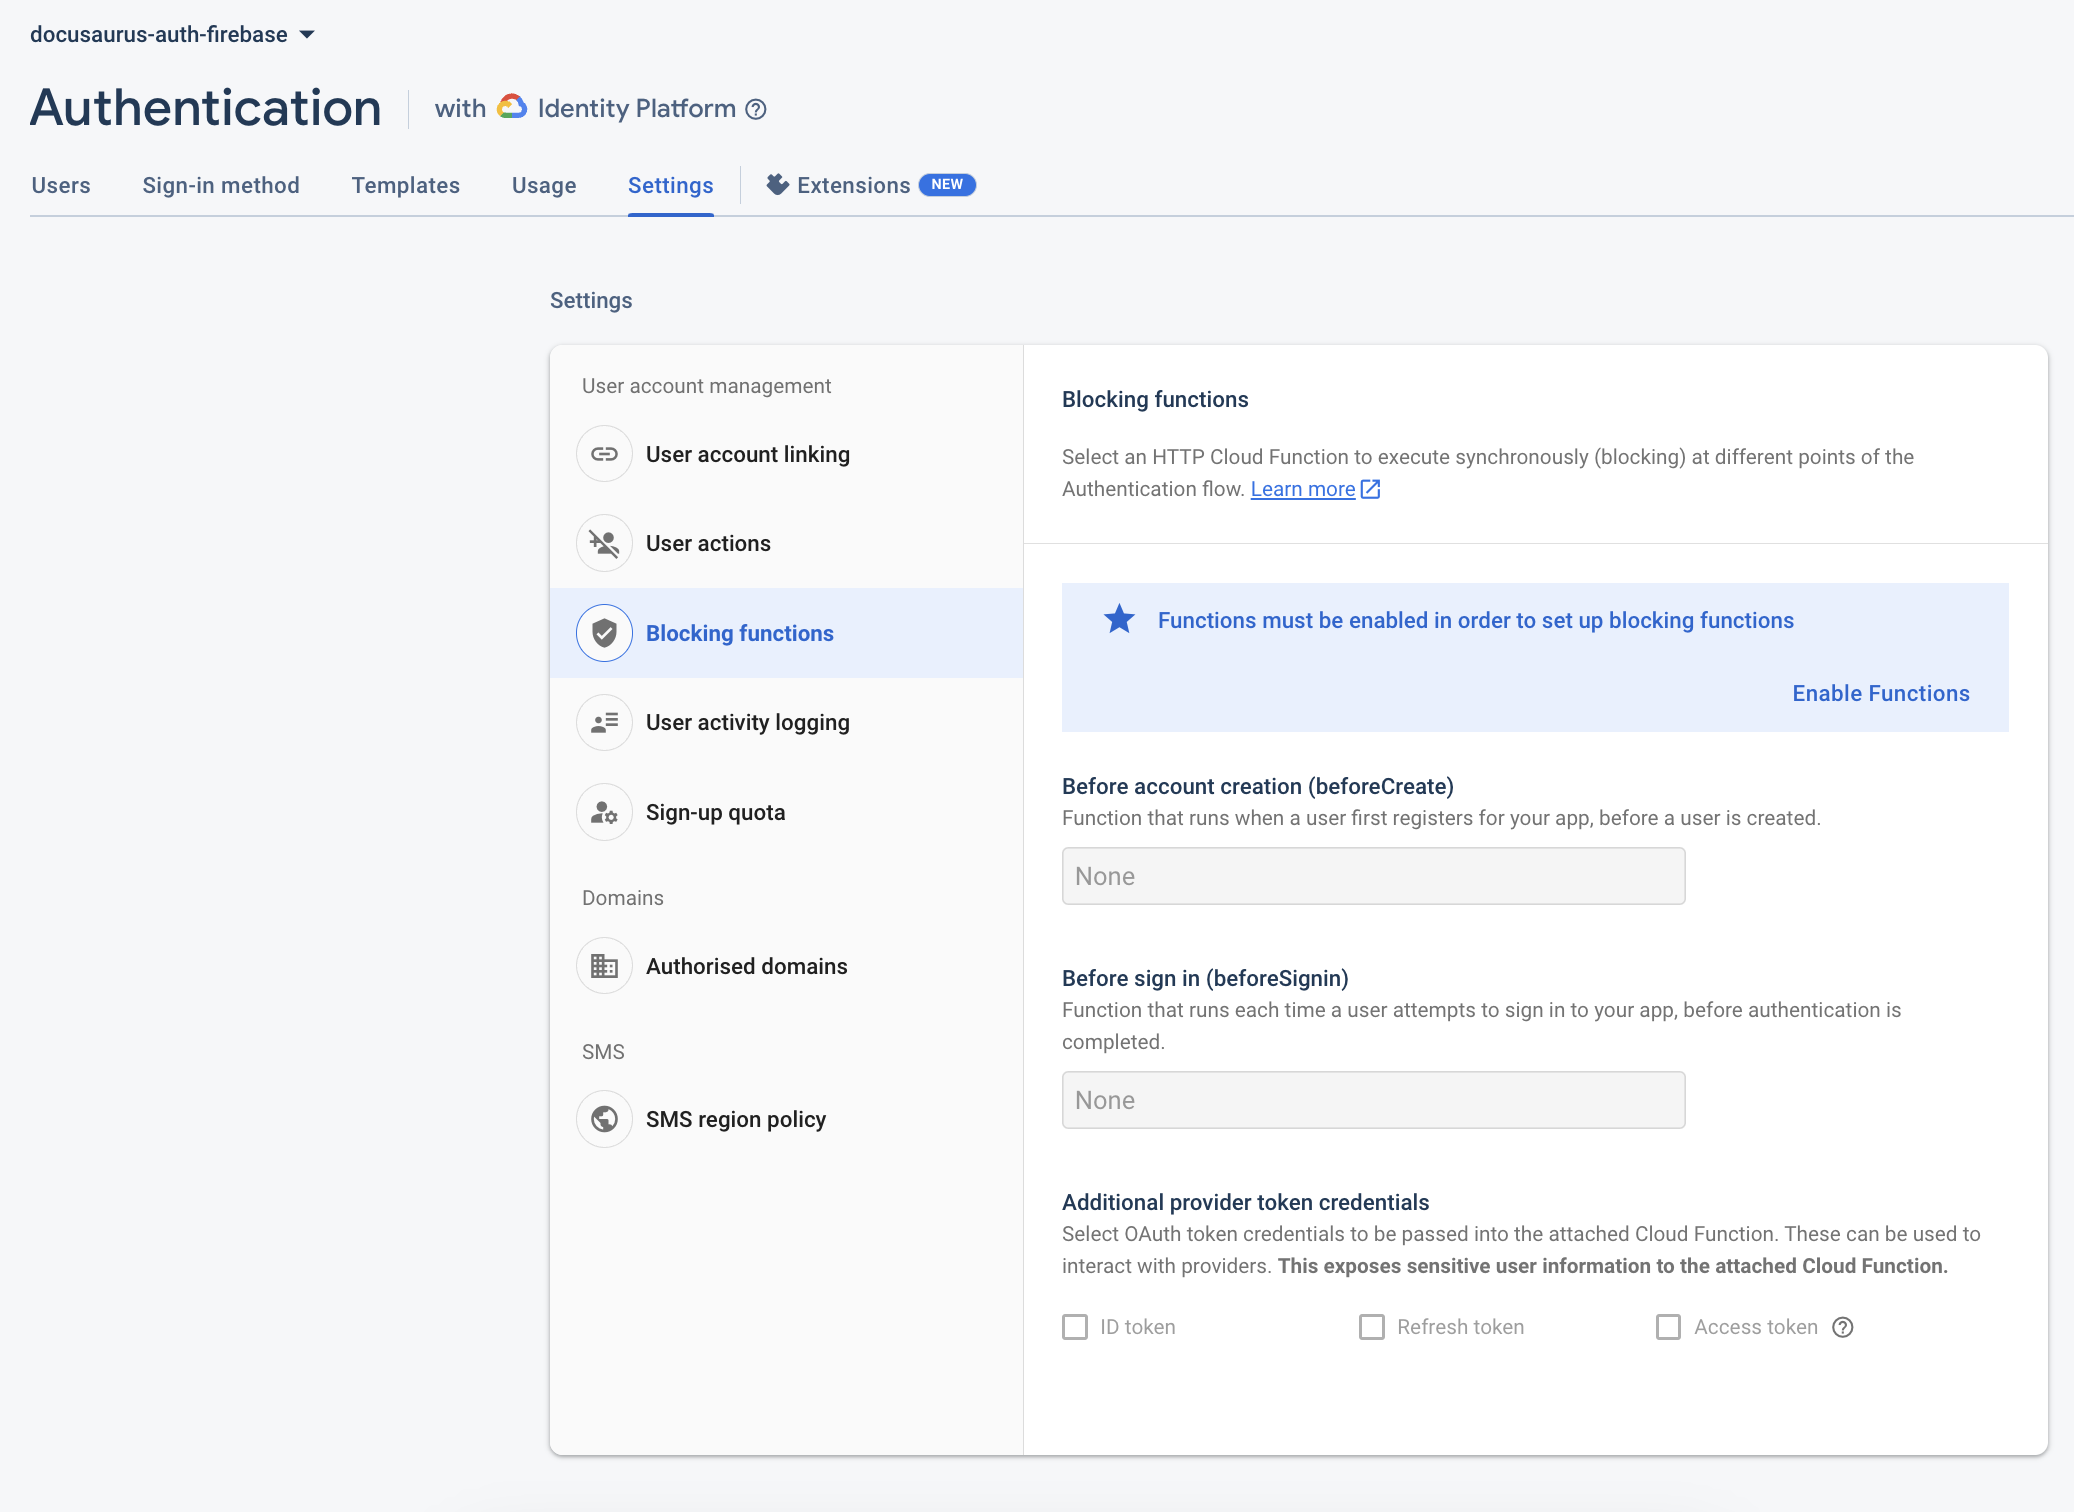
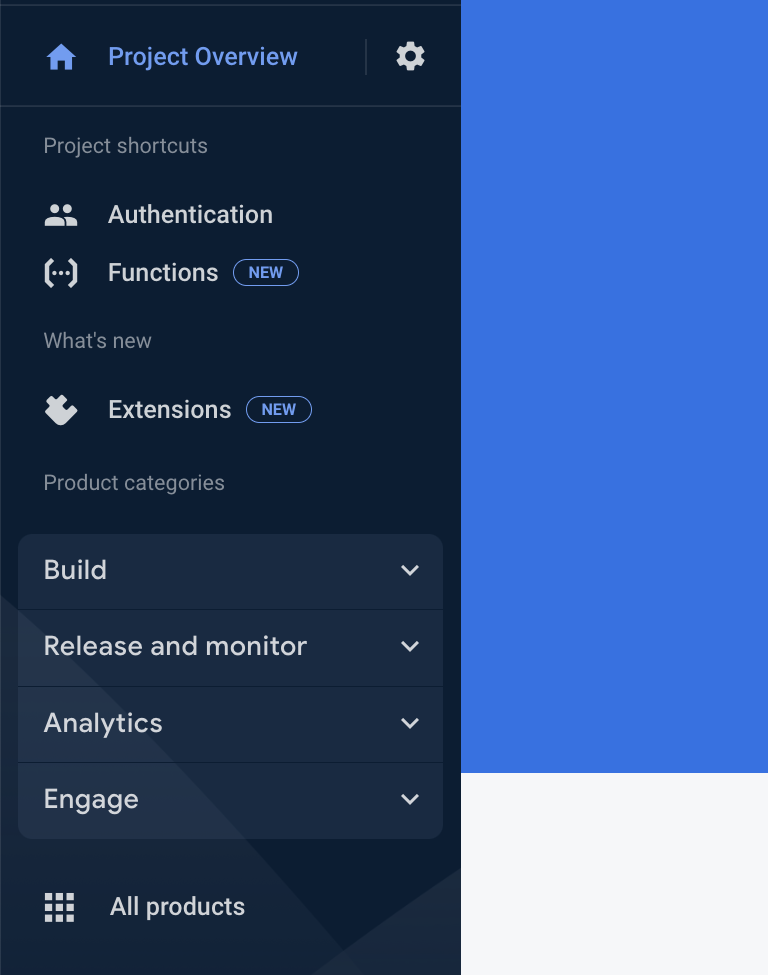
In the left panel, select Authentication under Project Overview.

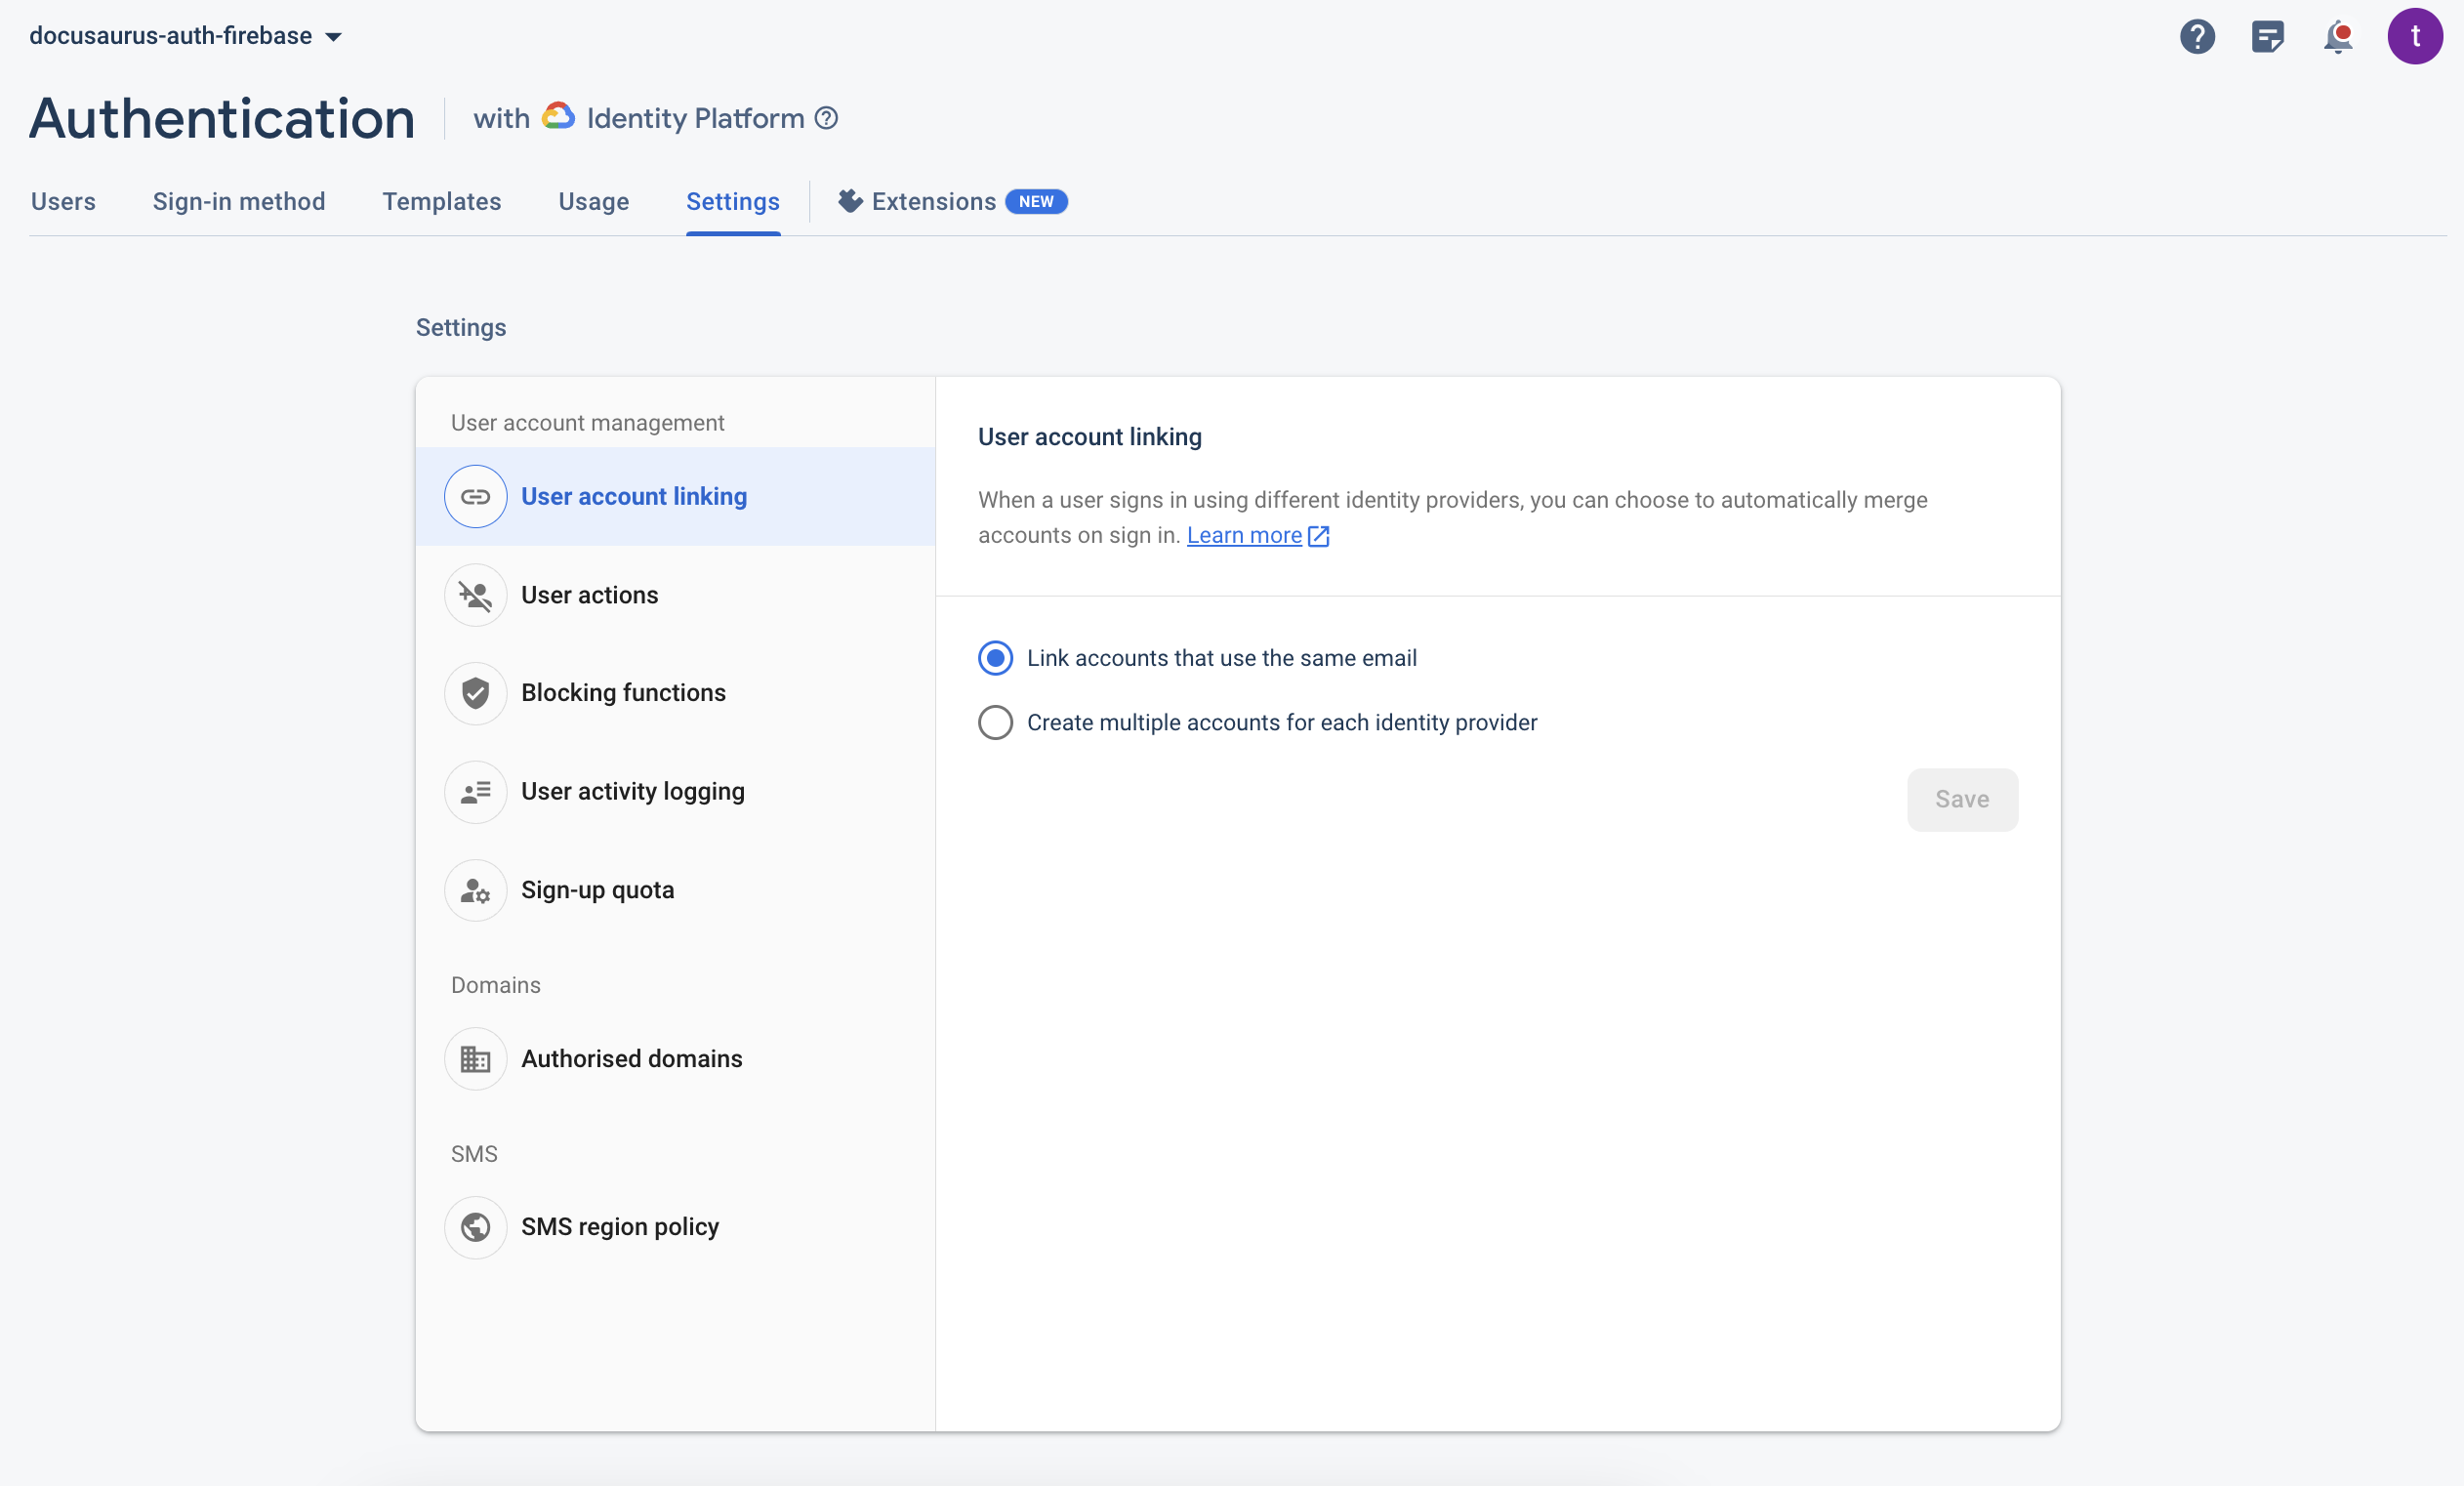
On the top menu, click on Settings.
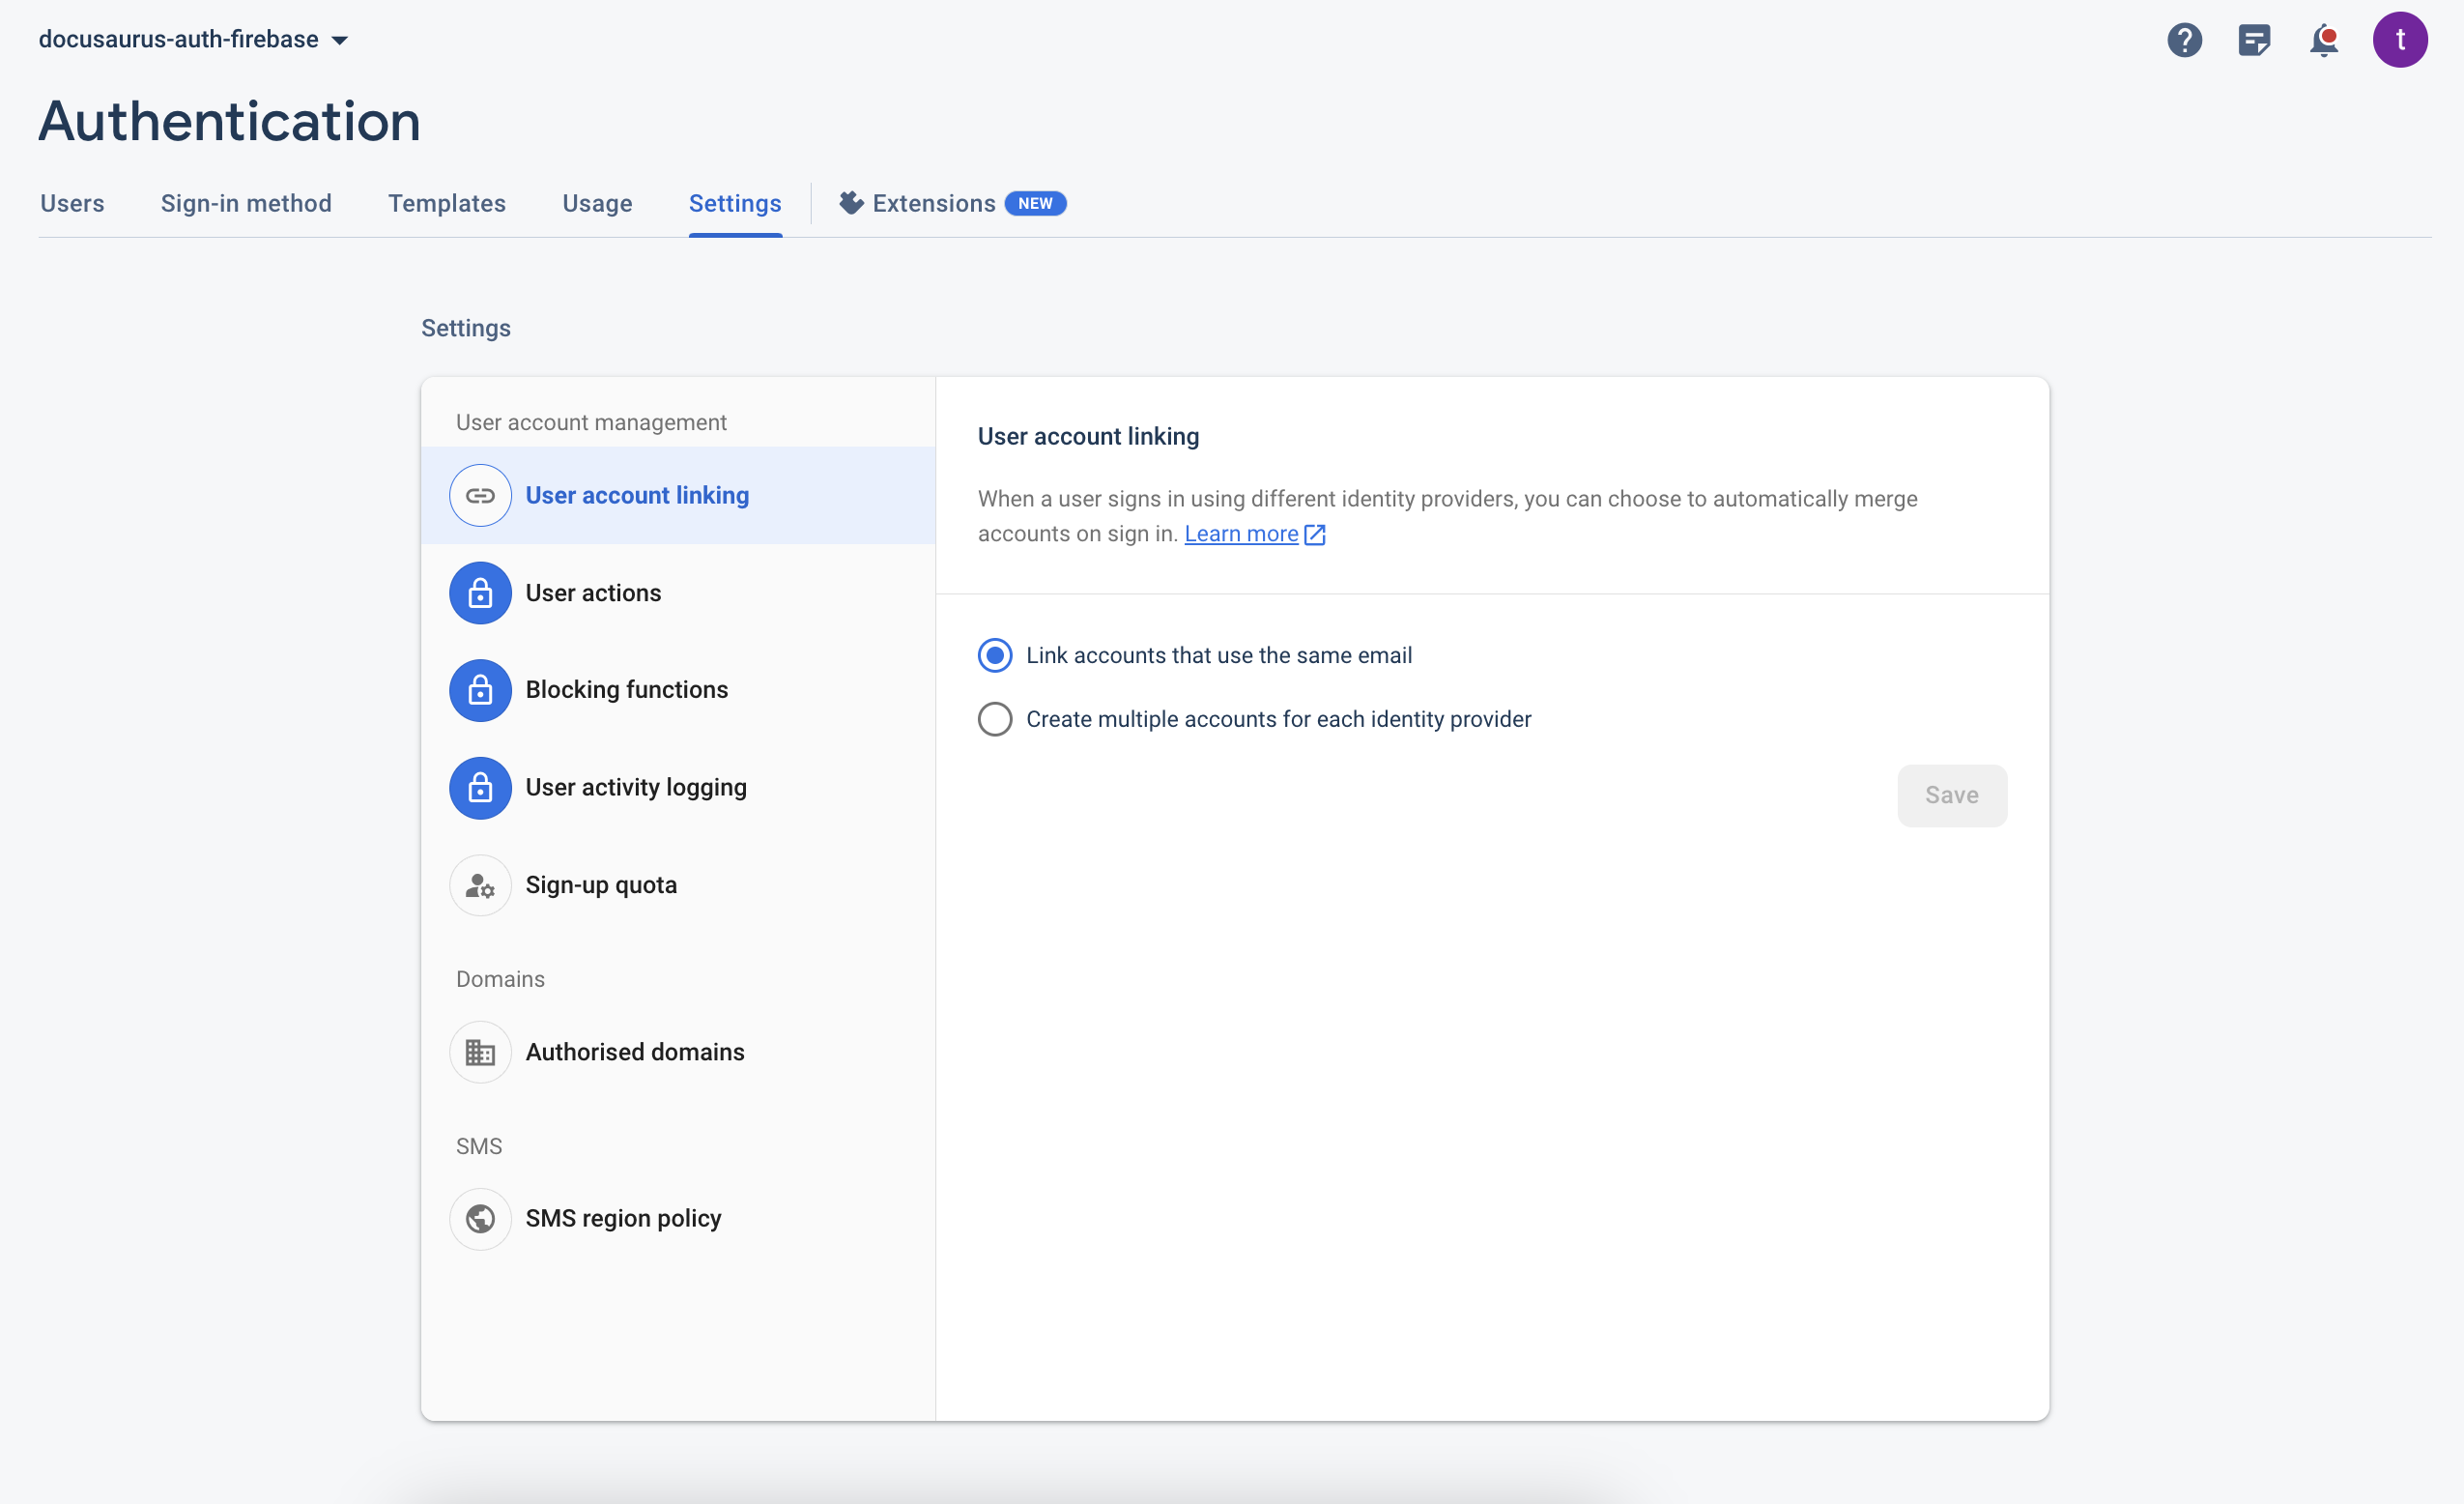
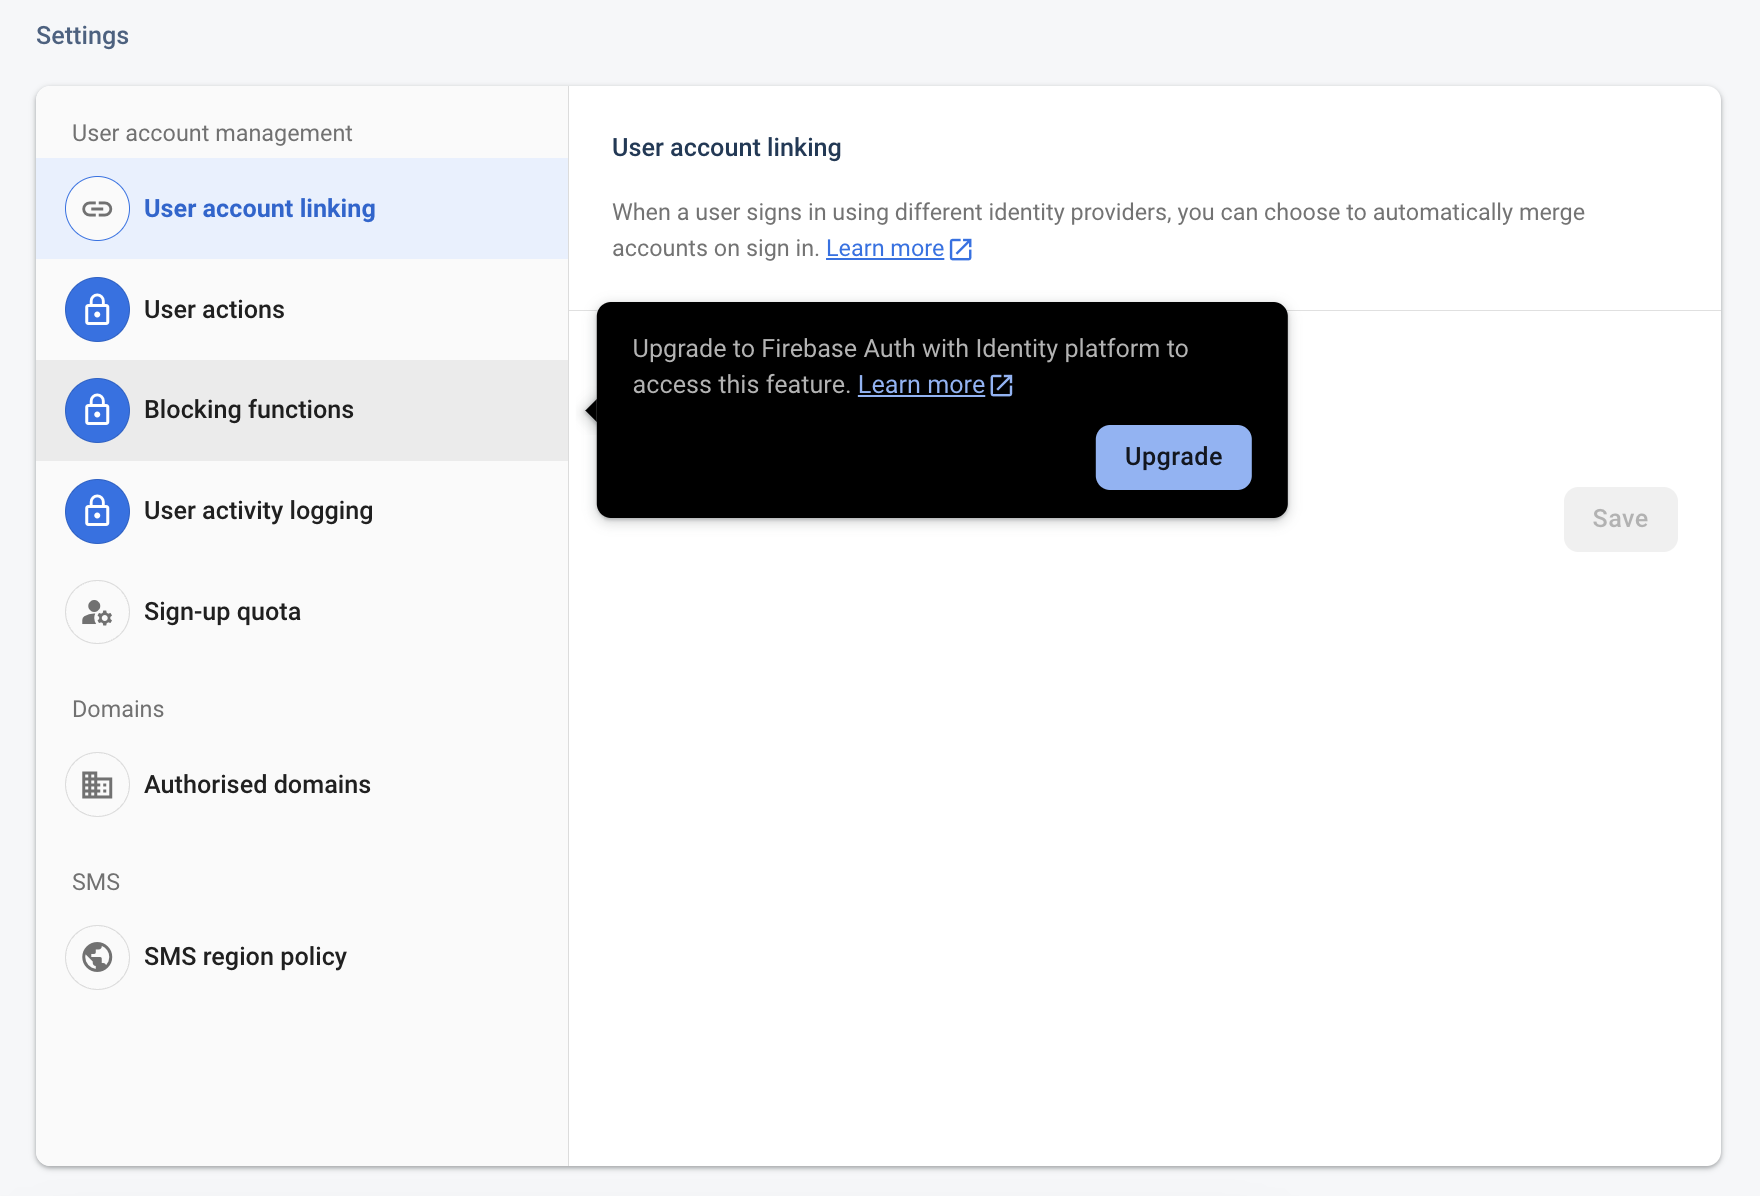
As you see, Blocking Functions is locked. Hover on Blocking Functions and click on Upgrade.
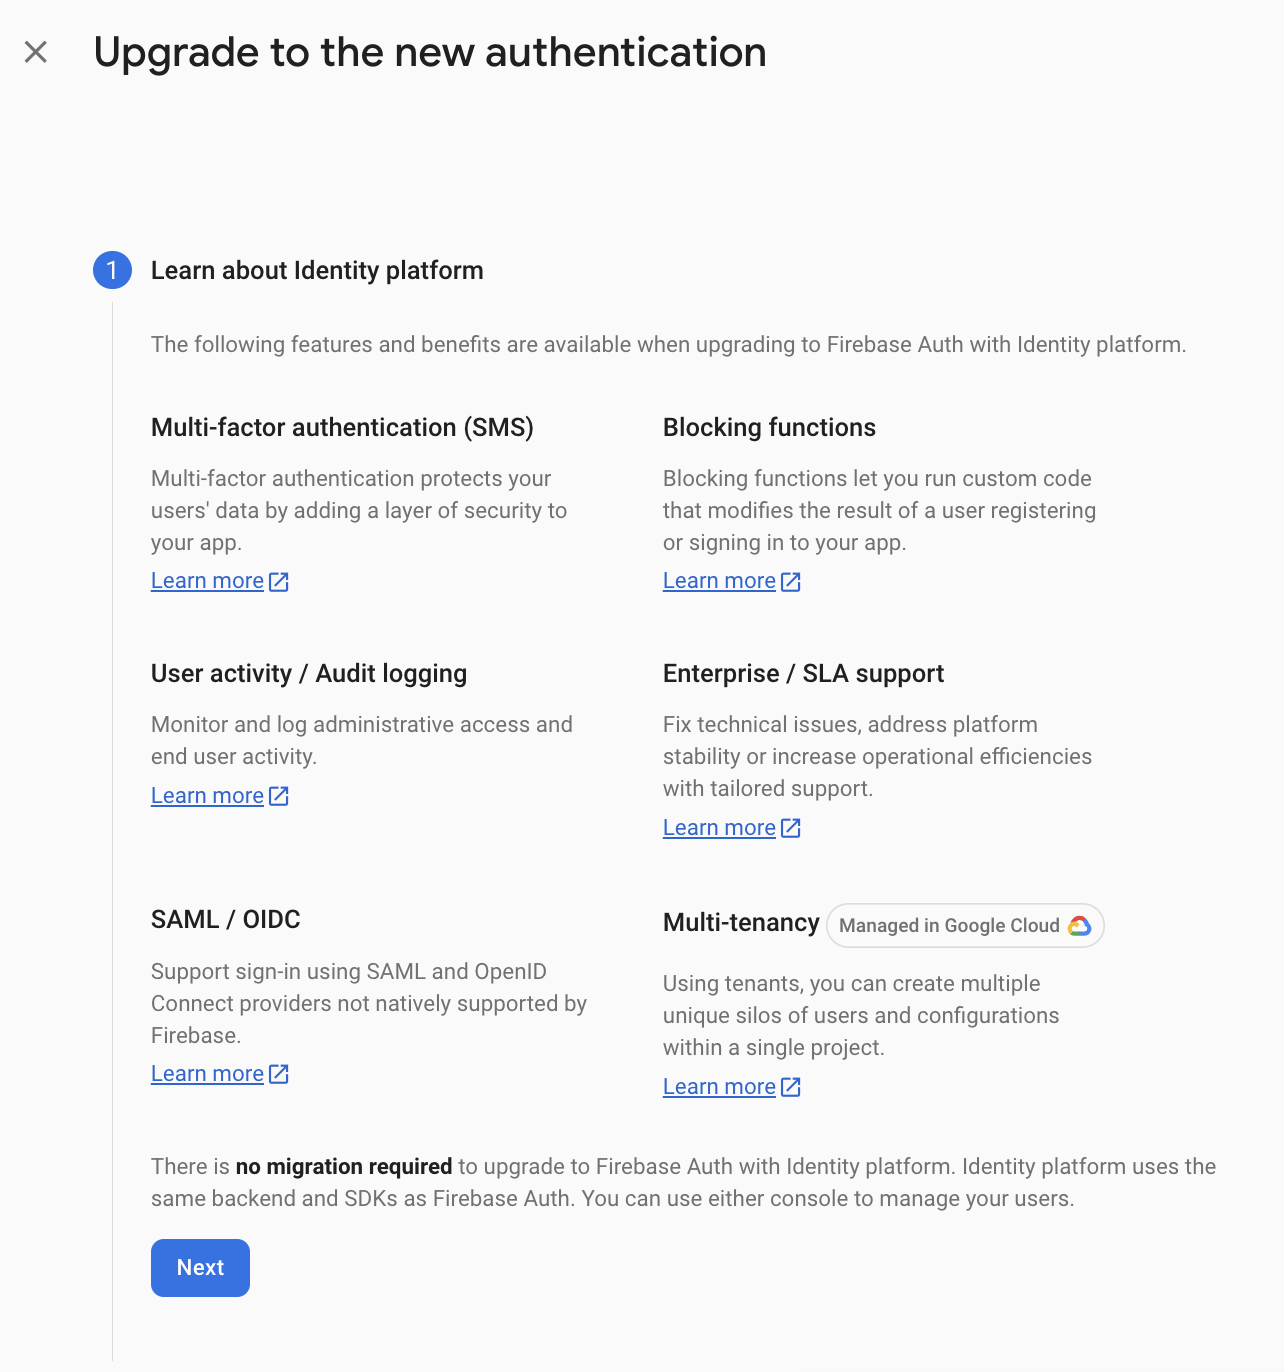
In Step 1 (Learn about the Identity platform), check on the features and press Next.
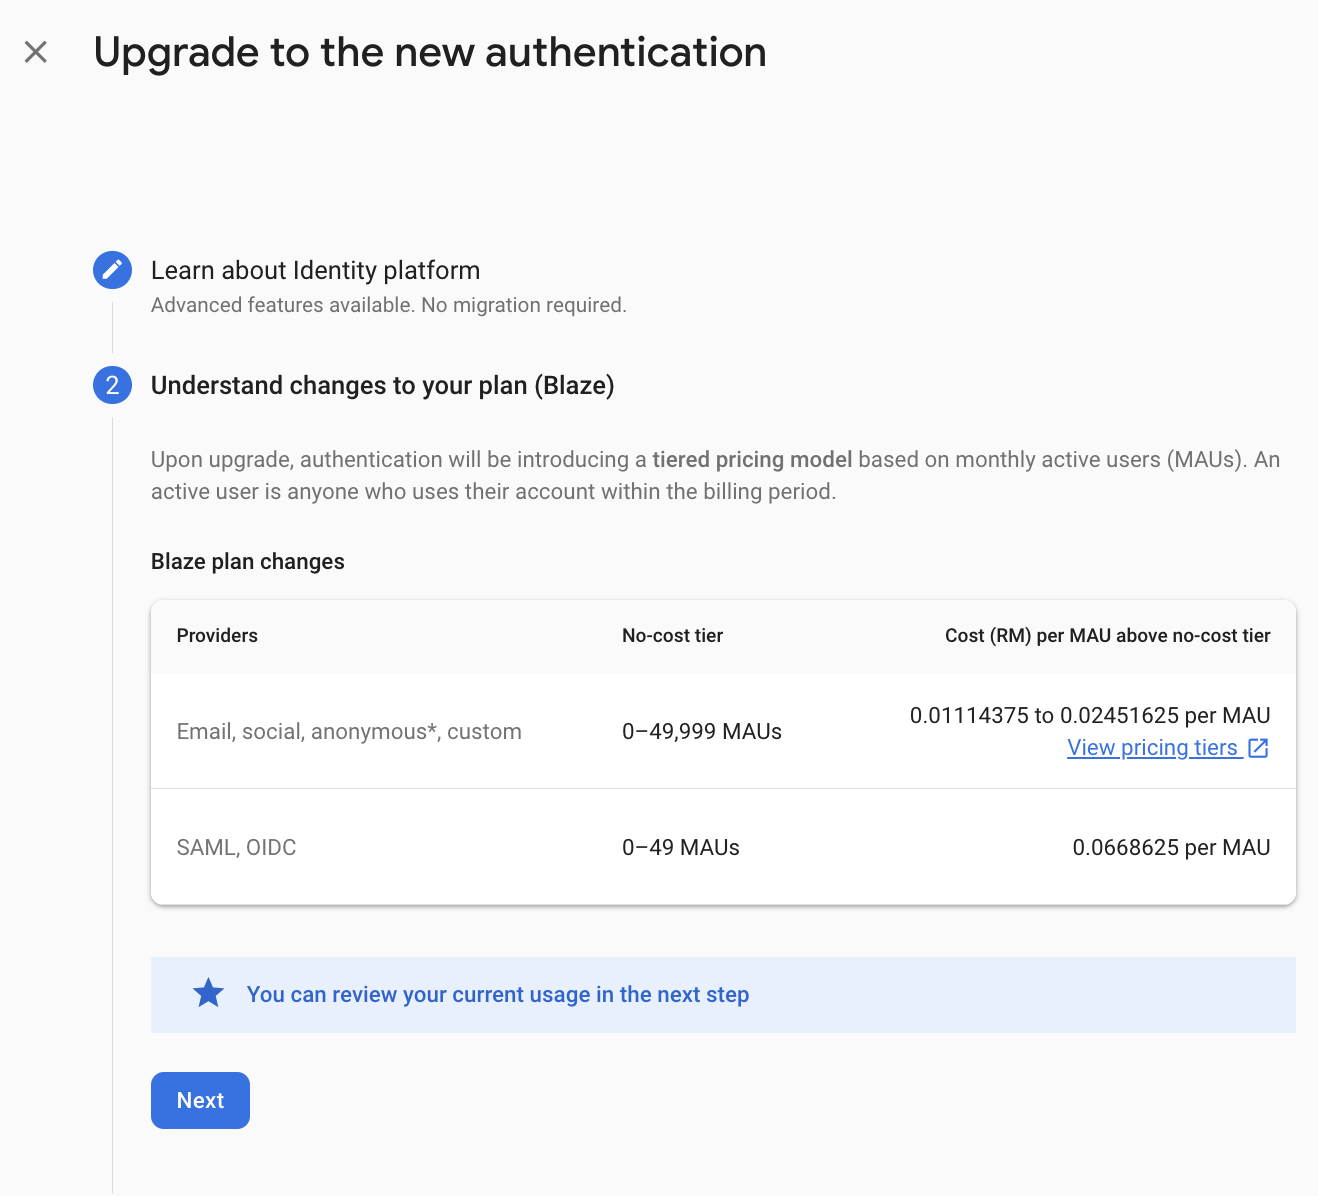
In Step 2 (Understand changes to your plan (Blaze)), check on the details and press Next.
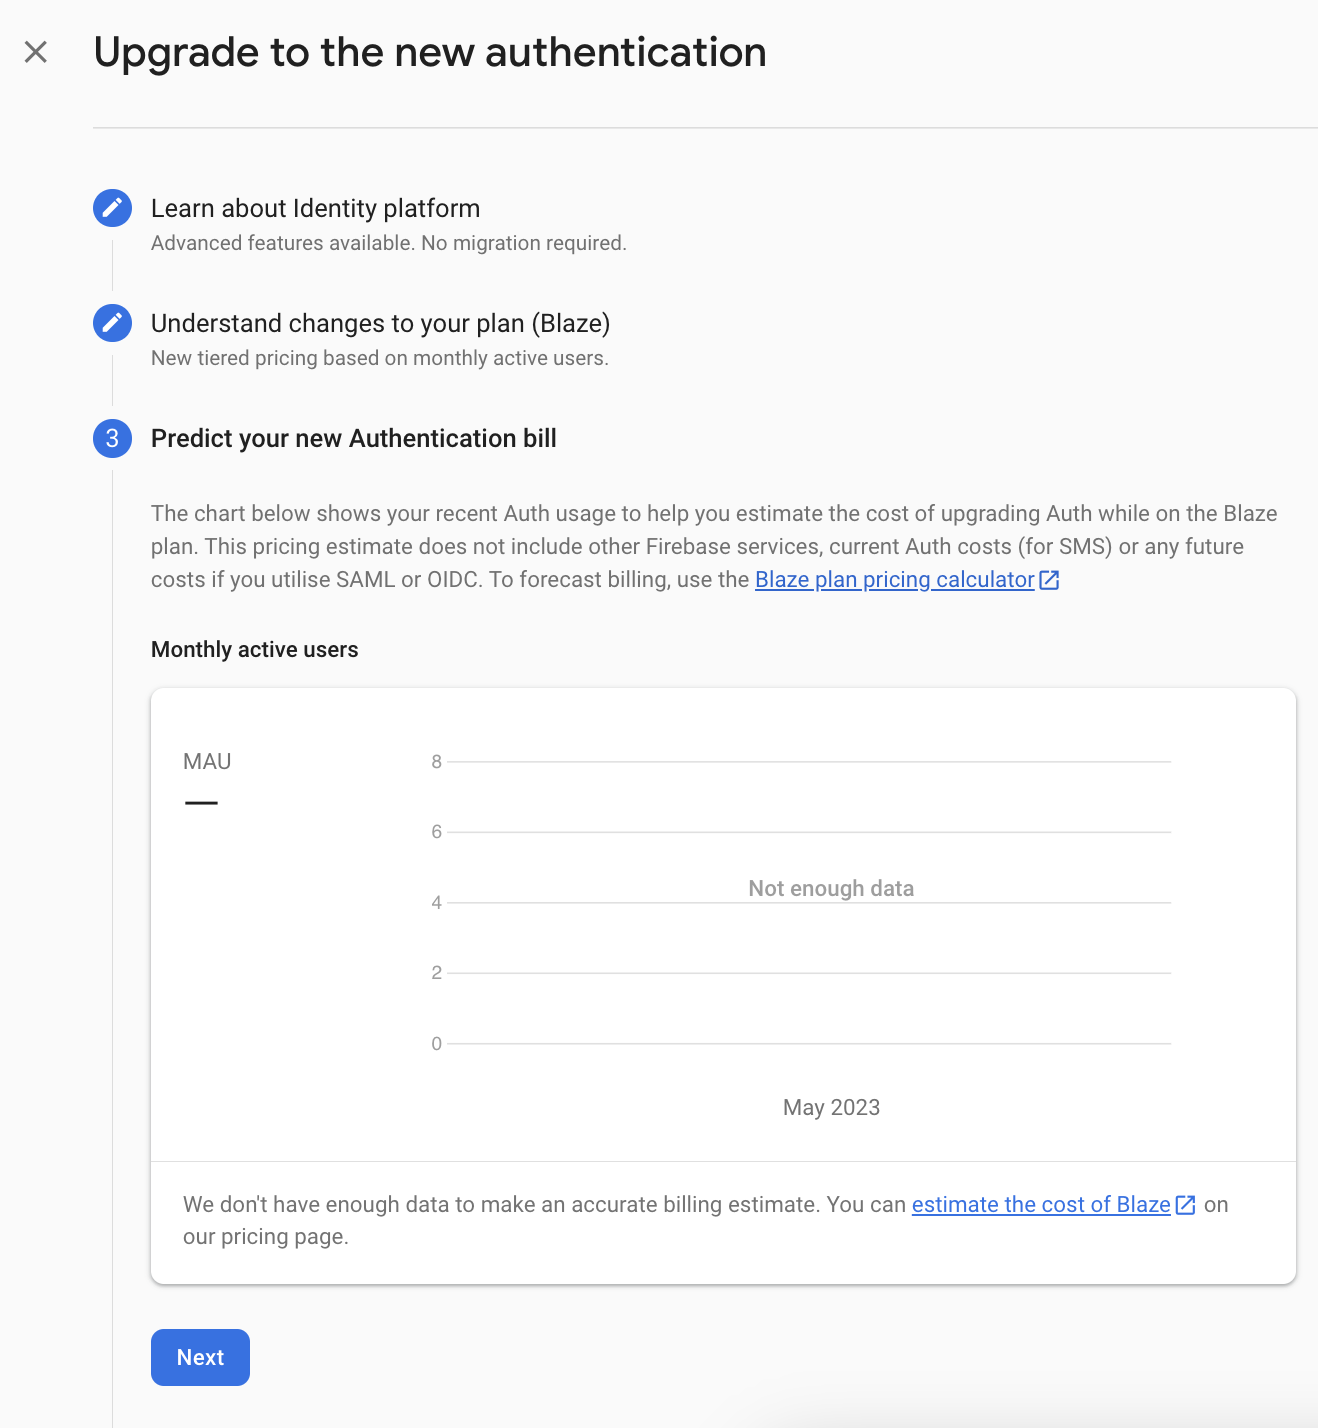
In Step 3 (Predict your new Authentication bill), check on the details and press Next.
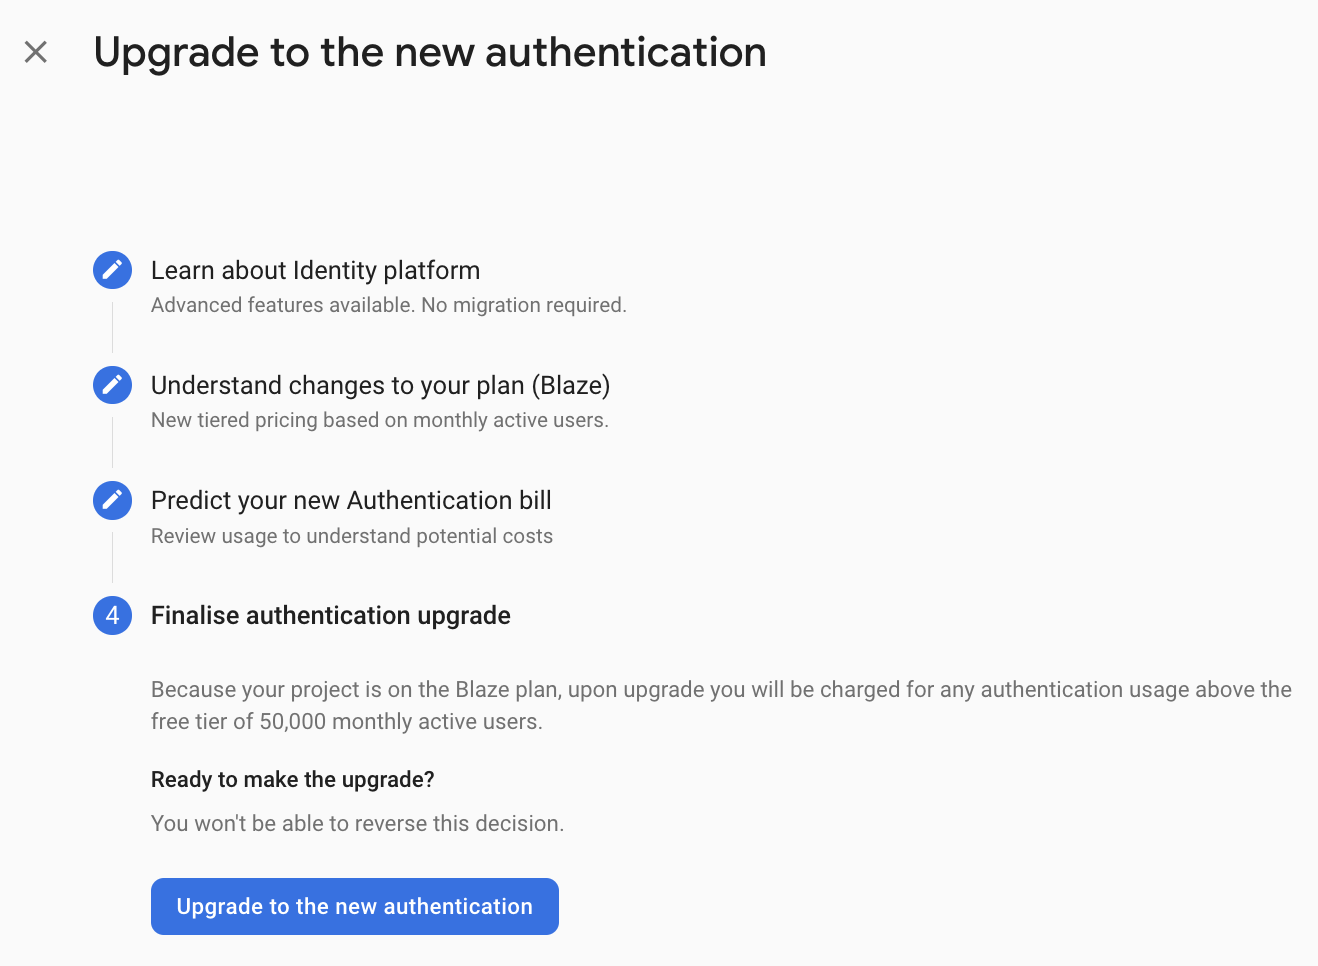
In Step 4 (Finalize authentication upgrade), check on the details and the free tier details and press Upgrade to the new authentication.
As you can see, the Blocking Functions is unlocked.
Enable Functions in Firebase
Cloud Functions for Firebase is a serverless framework that lets you automatically run backend code in response to events triggered by Firebase features and HTTPS requests.
To enable Functions in your Firebase console, follow the below steps:
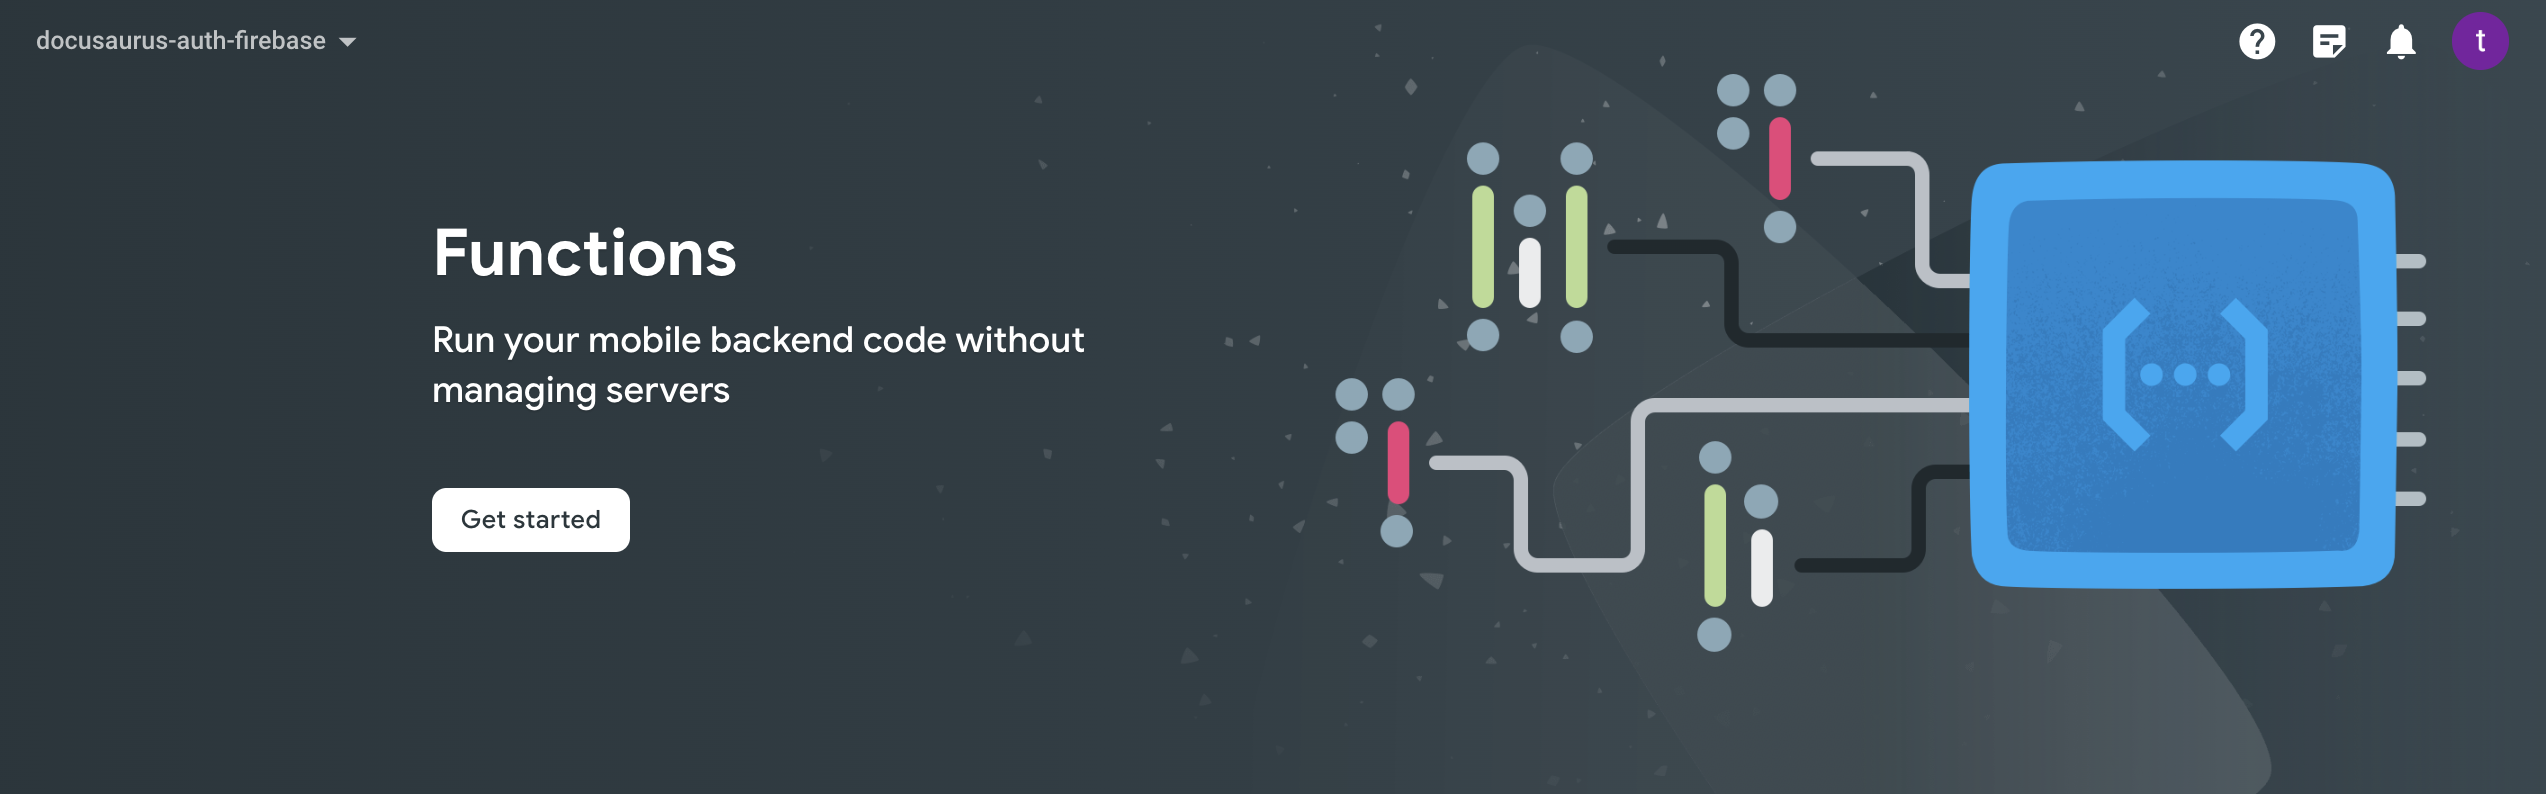
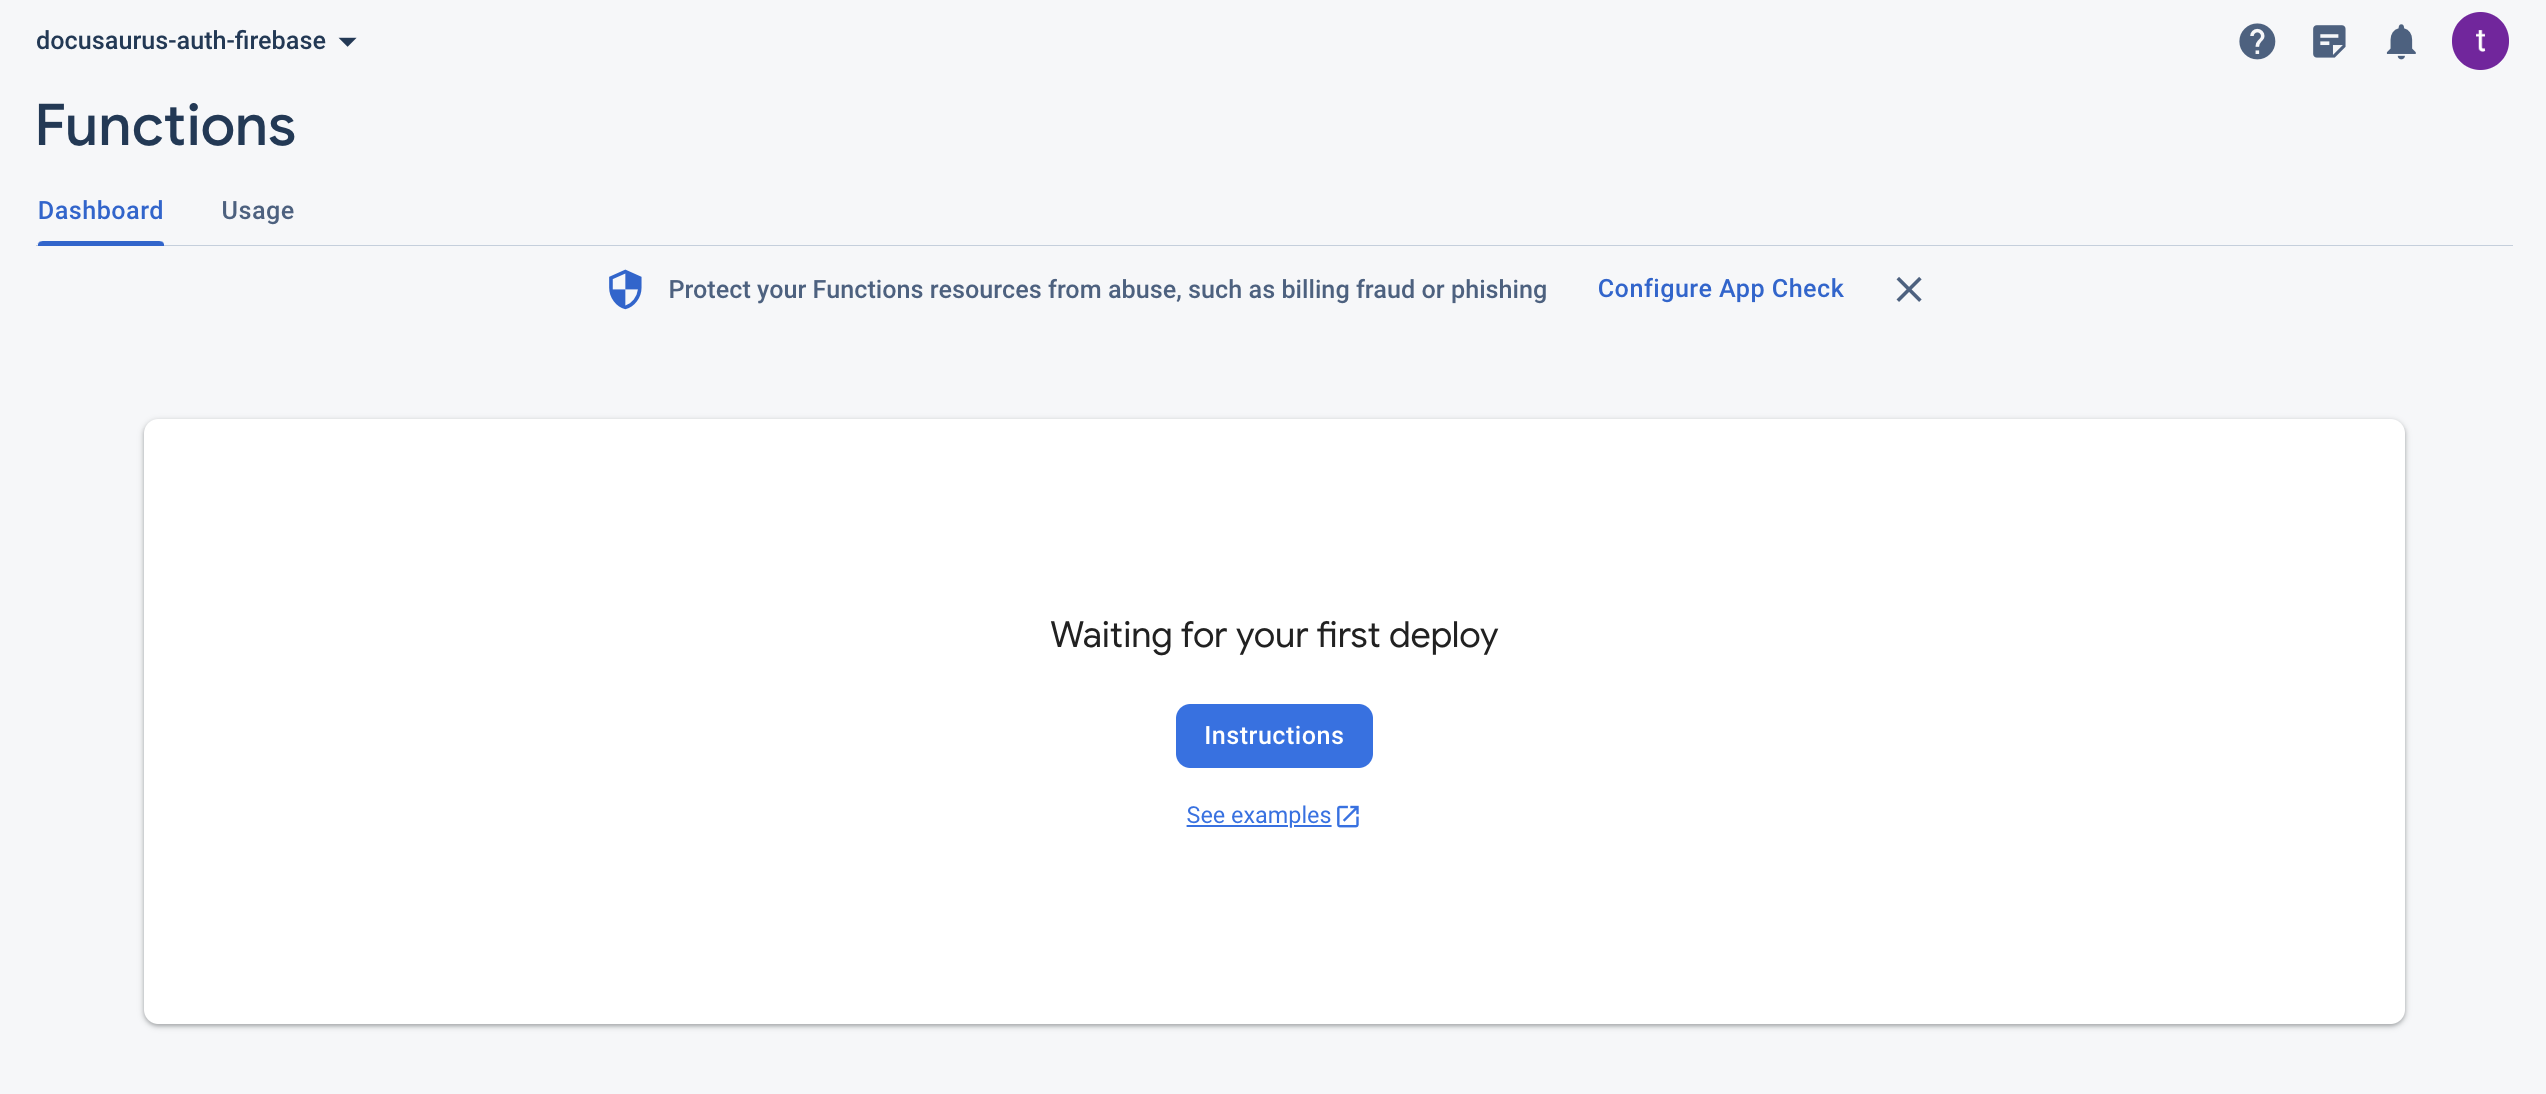
In the left panel, select Functions under Project Overview.

Then click on Get started.
Click on Continue.
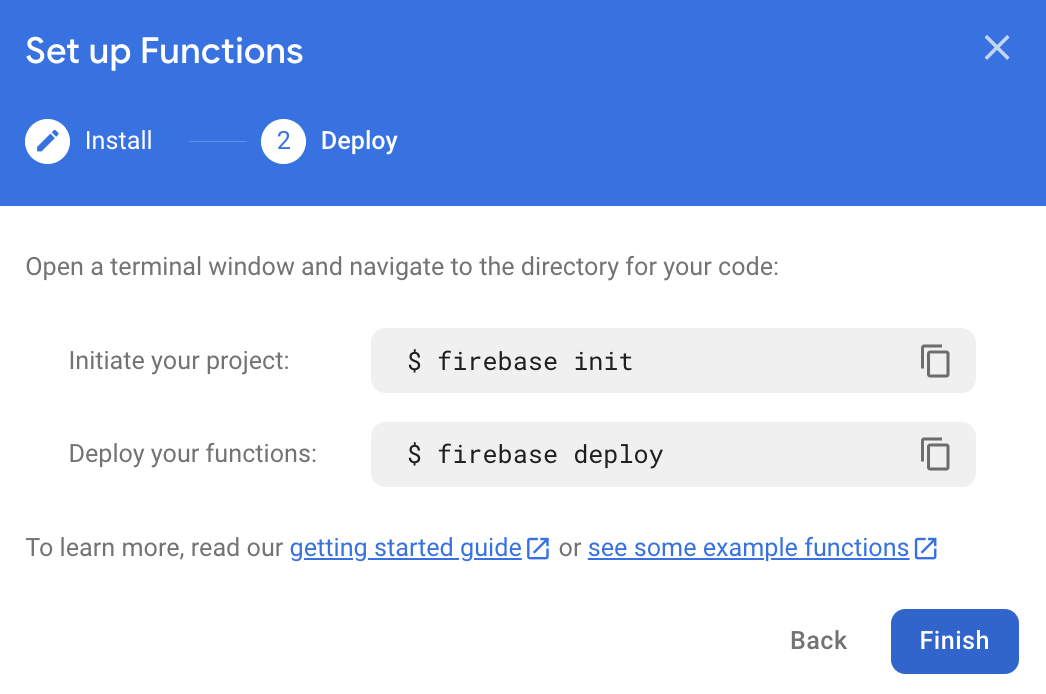
Then click on Finish
Now Firebase is ready for your first deployment.
Blocking Function: beforeCreate
This section contains all the changes and new files needed to write a beforeCreate function. It runs when a user first registers for your app before a user is created.
Final Directory Hierarchy
This section contains all the changes and new files needed to write a beforeCreate function. I suggest going through the previous steps to set up your Google Firebase before starting this section.
Use it as a reference.
├── README.md
├── .firebaserc
├── firebase.json
└── functions
   ├── .eslintrc.js
   ├── .gitignore
   ├── index.js
   ├── package-lock.json
   └── package.json
Initiate a new Firebase Function
To initiate a new function for this project, follow the below steps:
Login to Firebase using your CLI. To do so, type the below command in your terminal and follow the instruction shown there:
firebase loginThen, type the below command in your terminal and follow the instruction shown:
firebase init🔔 The below video shows all the steps in sequence.
You can check the final directory hierarchy here.
Adding Required Files
In this section, I will provide the changes or additional files required for this feature to work.
🔔 On the first line of each code block, you can find the relative path of the file.
index.js: The main file contains the logic.
In this function, we allow the users to register only if their email domain is whitelisted. This approach is to restrict public registration and limits user registration to specific email domains.
Line 12 contains the list of allowed domains to register. If the user's email domain is not whitelisted, the function doesn't allow him to register and it throws an error.
// functions/index.js const functions = require("firebase-functions"); /* eslint-disable no-tabs */ /* eslint-disable indent */ exports.beforeCreate = functions.auth.user().beforeCreate((user) => { let isAllowed = false; // Only users of a specific domain can sign up. const WHITELISTED_DOMAINS = ["example.com"]; try { if (user.email === undefined) { throw new functions.auth.HttpsError( "invalid-argument", "Email address cannot be empty." ); } for (const item of WHITELISTED_DOMAINS) { if (user.email.lastIndexOf(item) !== -1) { isAllowed = true; break; } } if (!isAllowed) throw new functions.auth.HttpsError( "invalid-argument", `Unauthorized email "${user.email}"` ); } catch (error) { throw new functions.auth.HttpsError( "invalid-argument", `Unauthorized email "${user.email}"` ); } });.eslintrc.js: A configuration file for a tool named ESLint.
🔔 ESLint is a static code analysis tool for identifying problematic patterns found in JavaScript code.
  // functions/.eslintrc.js

  module.exports = {
    env: {
      es6: true,
      node: true,
    },
    parserOptions: {
      ecmaVersion: 2018,
    },
    extends: ["eslint:recommended", "google"],
    rules: {
      "no-restricted-globals": ["error", "name", "length"],
      "prefer-arrow-callback": "error",
      quotes: ["error", "double", { allowTemplateLiterals: true }],
      "object-curly-spacing": [2, "always"],
      "max-len": ["error", { code: 140 }],
    },
    overrides: [
      {
        files: ["**/*.spec.*"],
        env: {
          mocha: true,
        },
        rules: {},
      },
    ],
    globals: {},
  };
Deploying the function
Now it's time to deploy the function to your Firebase account.
To deploy your function to your Firebase account and utilize it, follow the below steps:
Run the below command in the root directory of the created function:
firebase deploy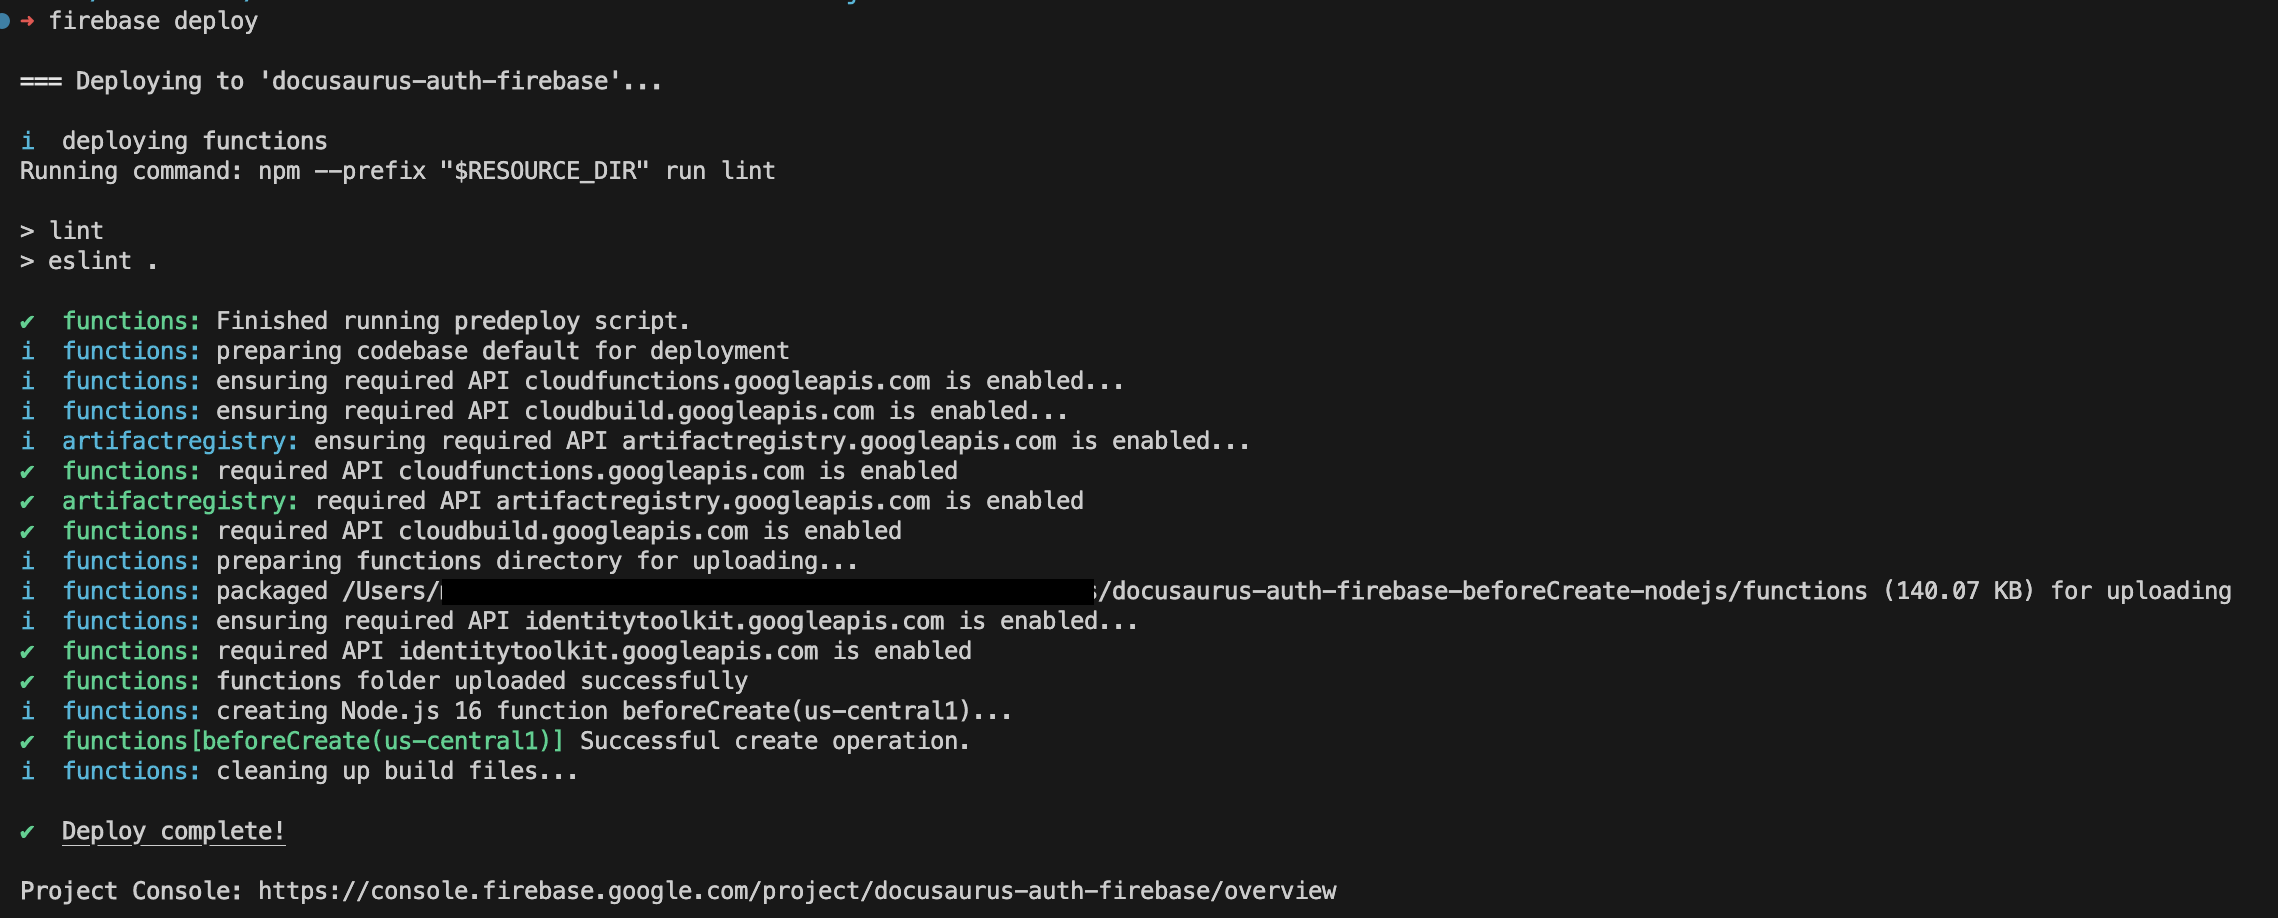
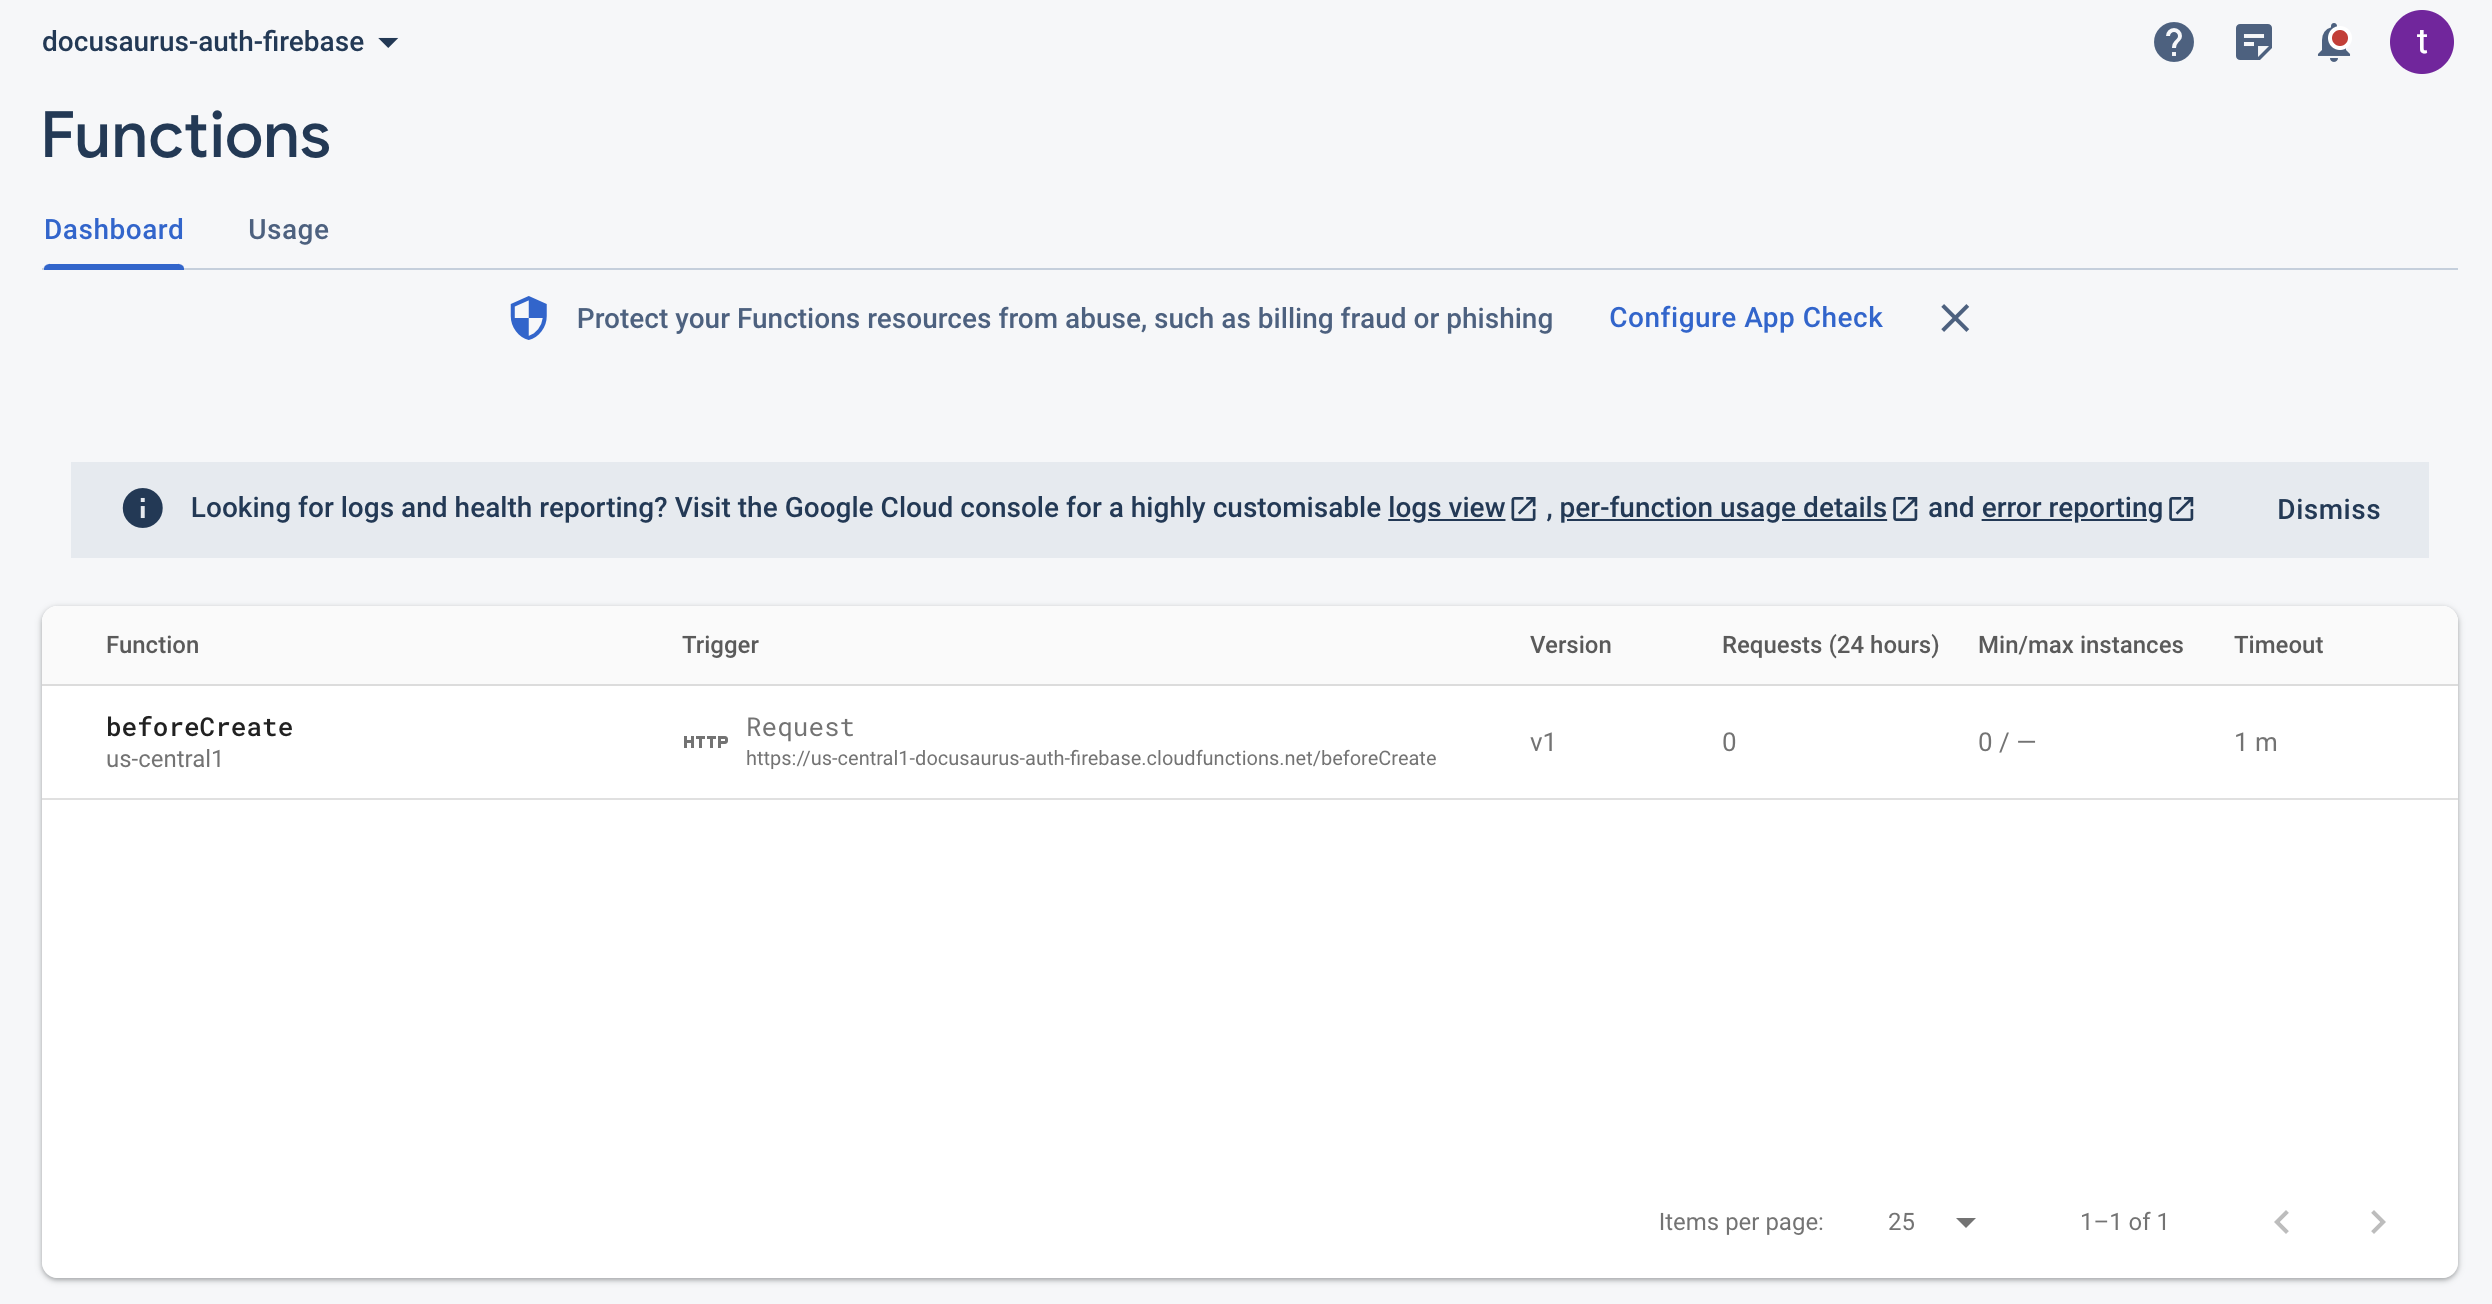
In the left panel, select Functions under Project Overview.

As you can see, the deployed function appeared here:
In the left panel, select Authentication under Project Overview.
On the top menu, click on Settings.
In the screen that appeared, click on Blocking functions and choose beforeCreate from the dropdown menu under Before account creation (beforeCreate).
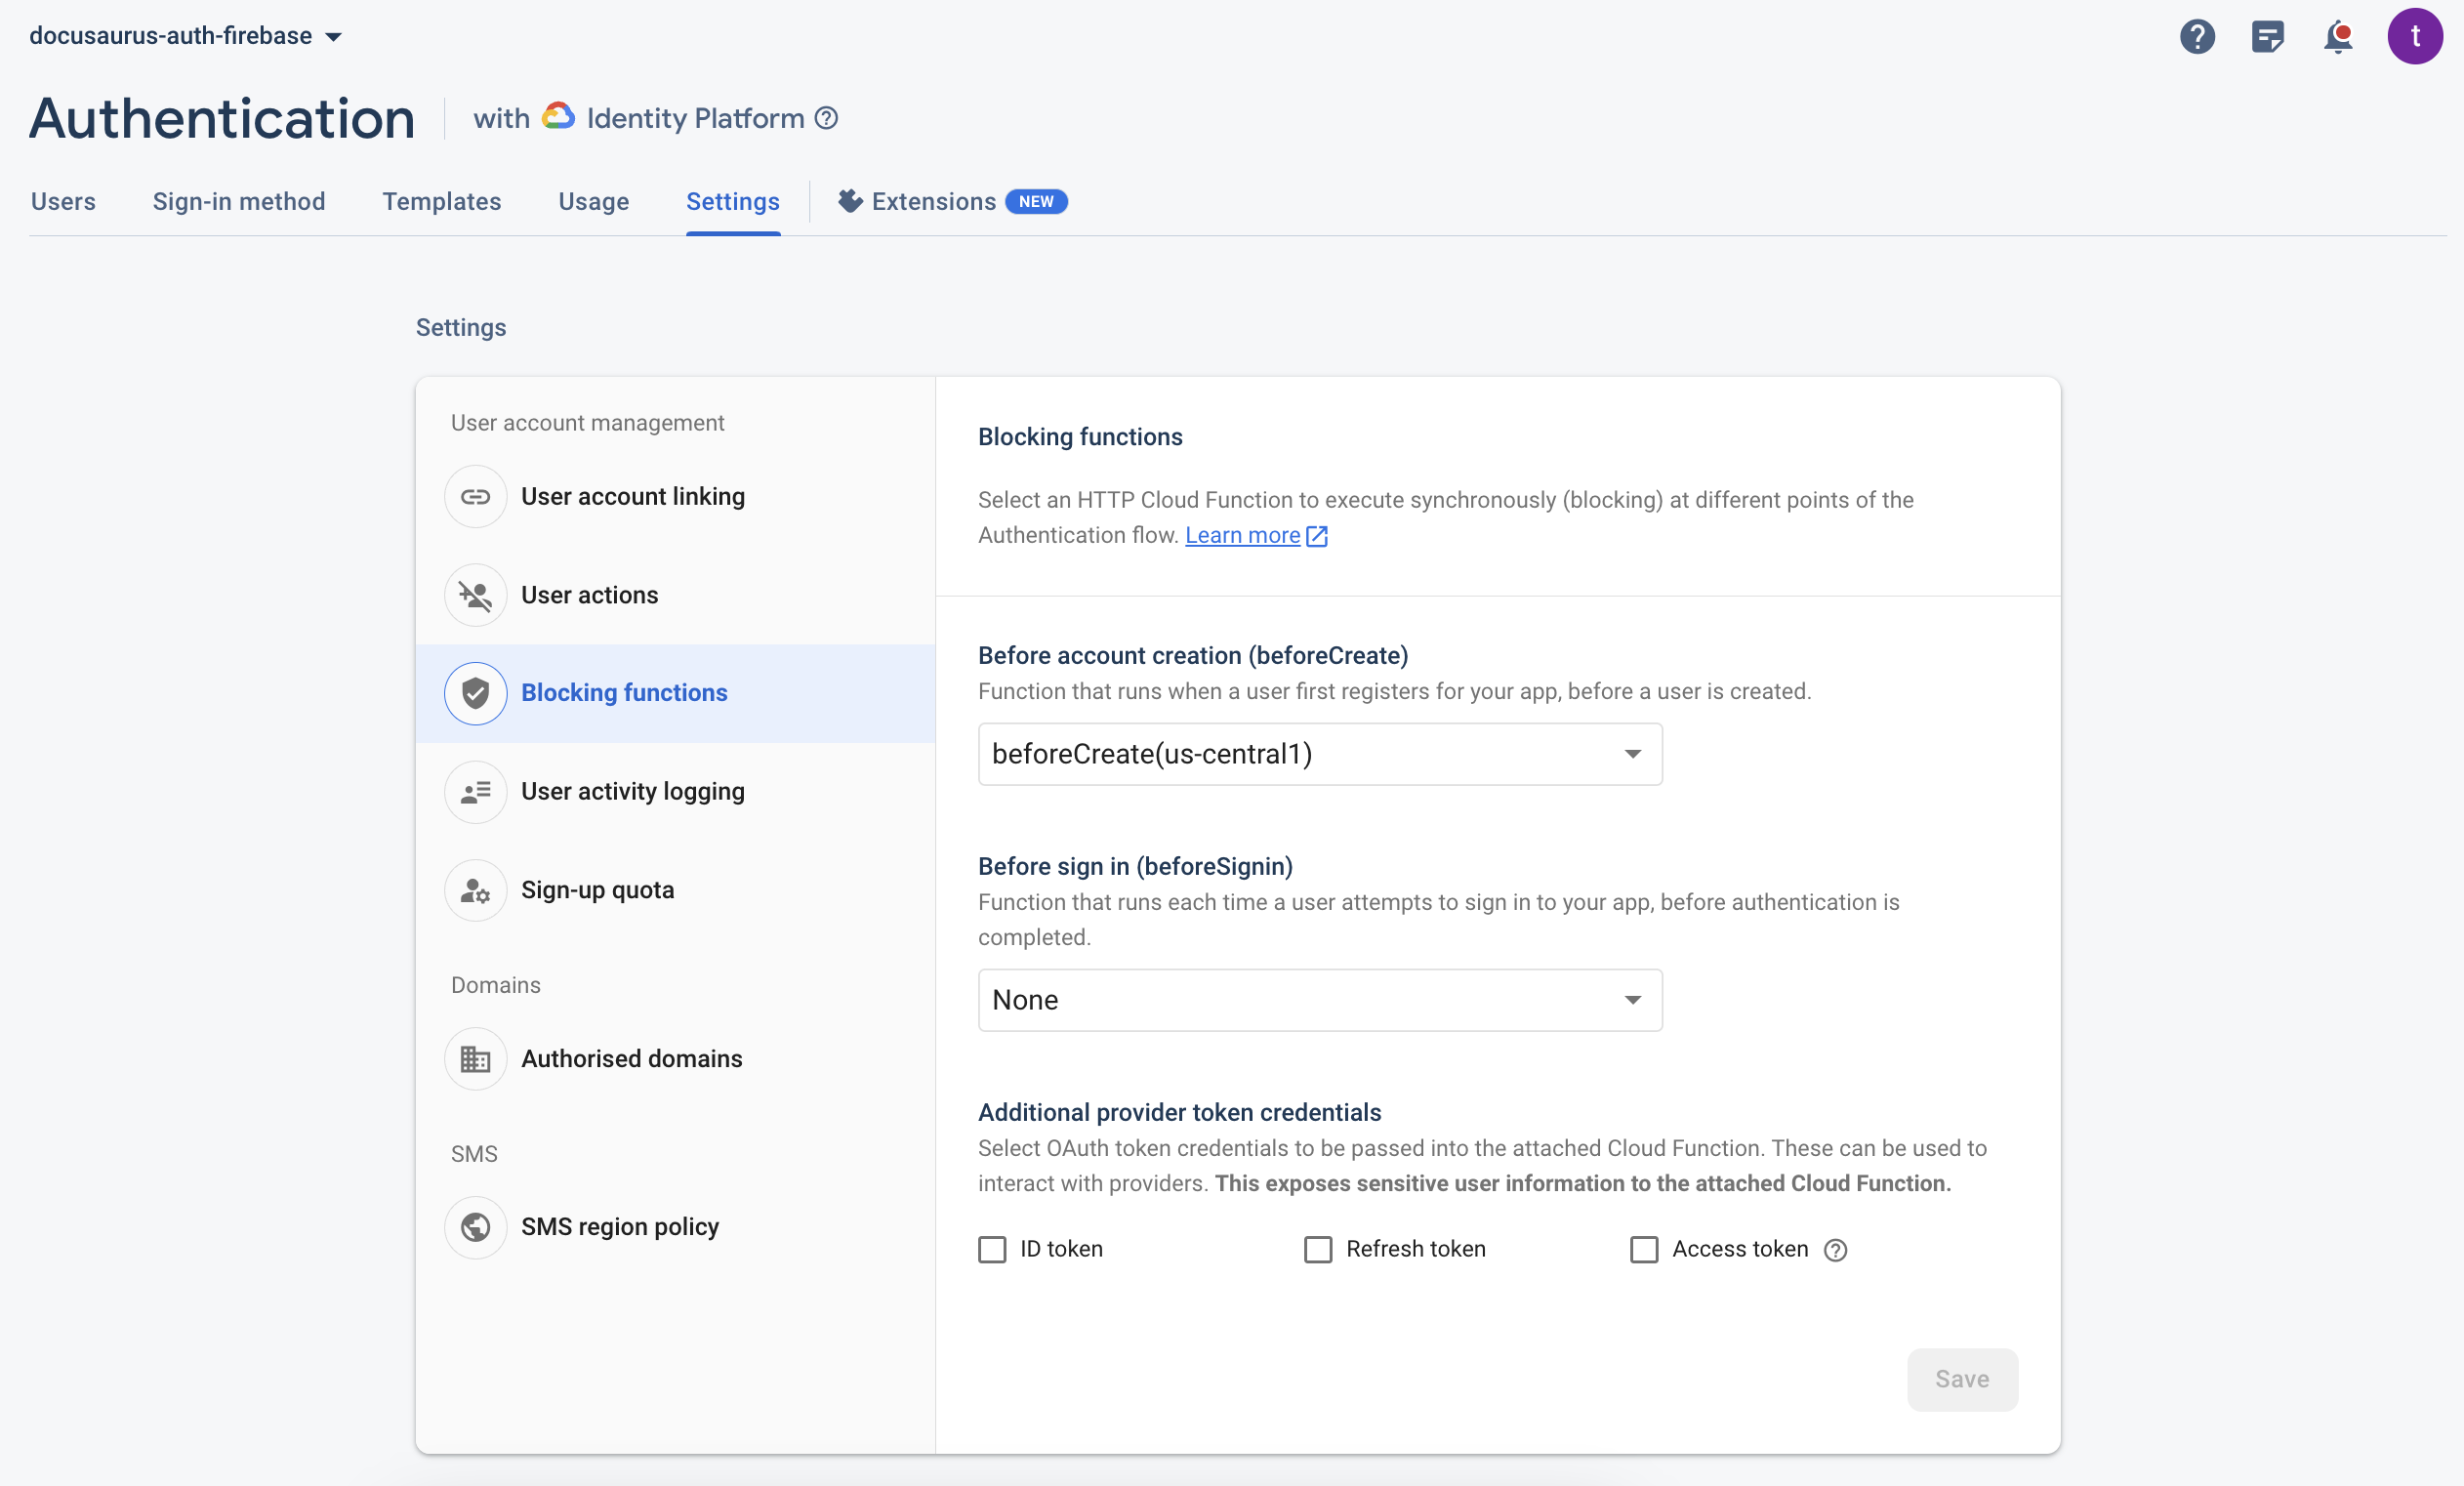
If everything is done as explained, you cannot sign-up using any email domain except
@example.com.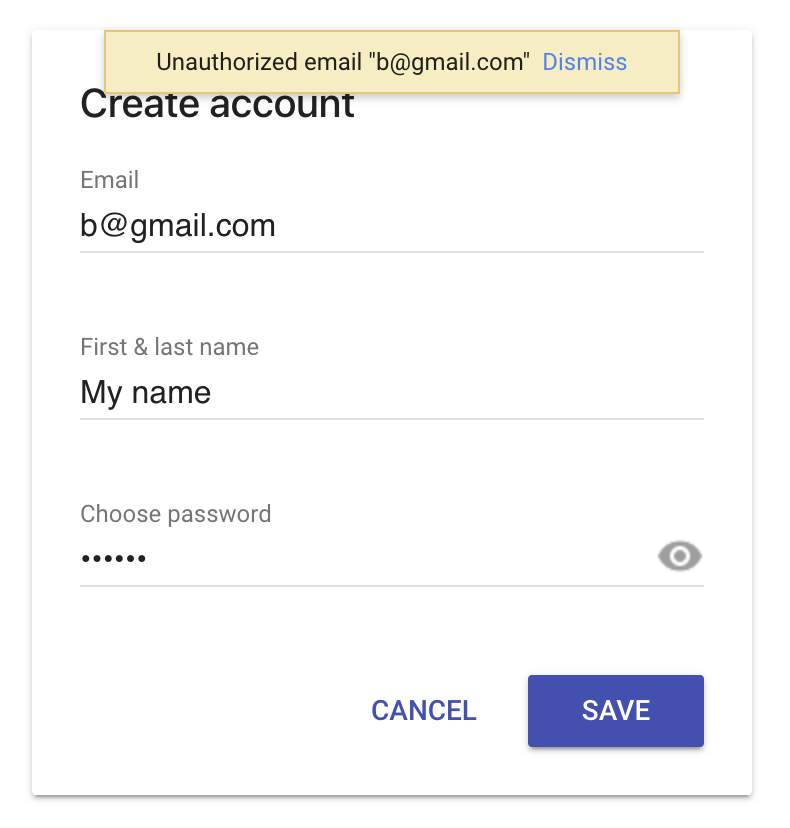
Source Code
The source code of beforeCreate function can be found here.
Also, you may find the complete source code for adding Google Firebase to your Docusaurus project here.
🔔 The code repository shared above consists of a few branches that all are related to the Docusaurus Authentication using Google Firebase. Though, you can find the changes for this article in the branch called
main.❗️DO NOT upload any
.envto your public repository.To run the project on your machine, you only need to fill up the
.env.localfile as described WITH YOUR VALUES.To use your
.envvalues in production, you need to add them to your hosting.Below I listed a few hosting options and how you can upload your
.envvariables as well.
Complete Docusaurus Authentication Series
Please find the complete roadmap here.
In this series, I will provide a step-by-step guide on how to add an authentication layer to your Docusaurus website using well-known auth providers like AWS Cognito, Google Firebase, Auth0, etc.
Also, you can find more advanced auth flows for complicated scenarios as well.
Support
In the end, if you find the articles useful, don’t forget to support me at least with a message :)